Taking care of your car doesn’t always require a trip to the mechanic. With DIY car maintenance, you can save money, improve vehicle safety, and extend your car’s lifespan. Regular upkeep ensures that your car runs smoothly, preventing costly breakdowns and unexpected repairs.
One of the biggest advantages of DIY car repair is cost savings. Labor costs at repair shops can add up quickly, but handling simple tasks like oil changes, air filter replacements, and battery maintenance can significantly reduce expenses. Additionally, performing your own maintenance helps you stay in control of vehicle safety, as you can regularly inspect critical components such as brakes, tires, and fluid levels.
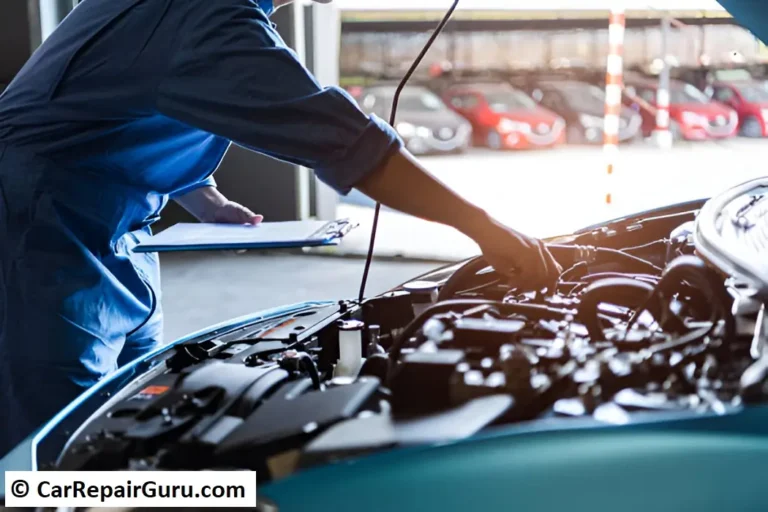
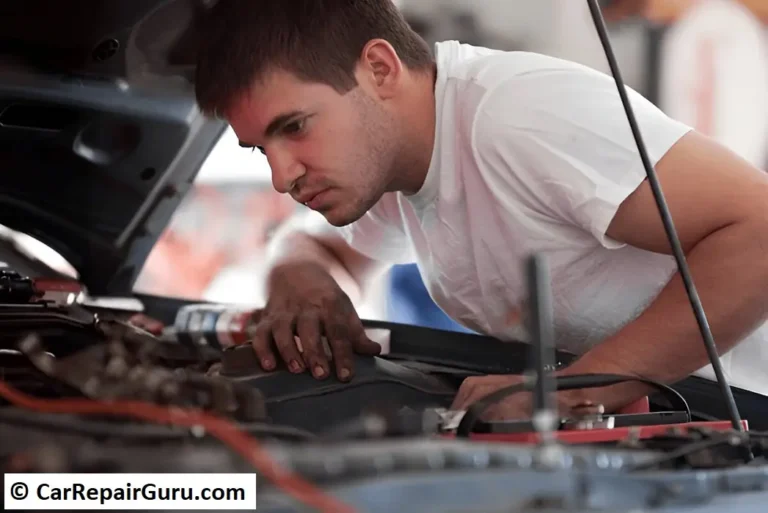
Another key benefit is early issue detection. Modern cars come equipped with diagnostic systems that display warning lights when something is wrong. Learning how to use an OBD-II scanner allows you to read error codes and address minor issues before they turn into expensive repairs.
By mastering DIY car maintenance, you not only enhance your car’s performance but also gain confidence in handling basic repairs. Whether you’re a beginner or an experienced DIYer, taking care of your vehicle can be rewarding, cost-effective, and essential for its longevity.
Safety Precautions for DIY Car Maintenance
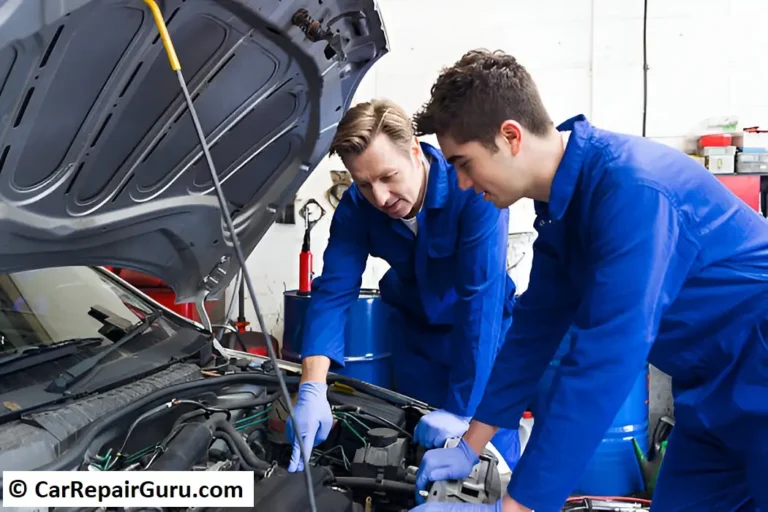
Before diving into DIY car repair, safety should be your top priority. Working on a vehicle involves handling sharp tools, hot engine parts, and potentially hazardous chemicals. Taking the right precautions can prevent injuries and ensure a smooth maintenance process.
Essential Safety Gear
Always wear protective gloves to shield your hands from oil, dirt, and sharp edges. Safety glasses are crucial when working under the hood, especially when dealing with fluids or high-pressure parts like brake repair components. If you’re working with loud power tools, consider using ear protection as well.
Setting Up a Safe Workspace
Choose a flat, well-lit area with good ventilation. Use sturdy car repair tools, and if you need to lift the vehicle, always place it on jack stands, not just a jack. Keeping your workspace organized reduces the risk of accidents and makes the job more efficient.
Follow Manufacturer Guidelines
Every car is different, so always refer to your vehicle manual before starting any auto repair. Using the wrong fluids, torque settings, or repair procedures can lead to expensive damage. Sticking to manufacturer recommendations ensures your car maintenance is done correctly and safely.
Basic Tools Required for DIY Car Maintenance
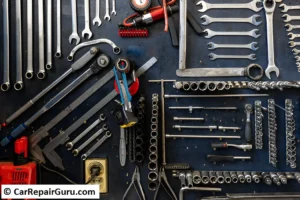
Having the right tools makes DIY car repair easier, safer, and more effective. Whether you’re a beginner or an experienced car enthusiast, investing in high-quality car repair tools will save you time and money in the long run.
Essential Tools Every DIYer Needs
To start, you’ll need a socket wrench set for removing and tightening bolts, a jack and jack stands for lifting your car safely, and a tire pressure gauge to ensure proper inflation. A multimeter is essential for checking electrical issues, and oil filter wrenches make changing your car oil much easier. Keeping a brake pad spreader and spark plug socket on hand is also useful for routine vehicle maintenance.
Investing in the Best Tools for Beginners
If you’re new to DIY car maintenance, start with a basic mechanic’s toolset that includes pliers, screwdrivers, and wrenches. High-quality tools may cost more upfront, but they last longer and improve safety. A torque wrench is especially valuable, ensuring bolts are tightened to the correct manufacturer specifications, preventing over-tightening or loose parts.
Using an Engine Tune-Up Kit
An engine tune-up kit helps improve fuel efficiency and engine performance. These kits usually include new spark plugs, an air filter, and fuel system cleaners. Learning how to use one can keep your engine running smoothly and prevent costly auto repairs down the road.
Routine Maintenance Tasks
Performing regular DIY car maintenance is key to keeping your vehicle running smoothly, improving fuel efficiency, and preventing costly repairs. Below are essential maintenance tasks every car owner should know.
Changing Engine Oil and Oil Filter
Regular oil changes are one of the most important vehicle maintenance tasks. Clean oil keeps your engine lubricated, reducing friction and preventing wear on moving parts.
How to Change Car Oil Step by Step
- Park your car on a level surface and allow the engine to cool.
- Place a drain pan under the oil plug and loosen it using a wrench.
- Allow the old oil to drain completely, then remove the old oil filter.
- Apply a little fresh oil to the gasket of the new filter and install it.
- Reinsert the drain plug securely and refill the engine with the recommended oil type.
- Check the oil level with the dipstick and dispose of the old oil properly.
Recommended Frequency for an Oil Change
Most manufacturers recommend an oil change every 3,000 to 5,000 miles, depending on the type of oil used and driving conditions. Always check your vehicle manual for specific recommendations.
Replacing Air Filters (Engine and Cabin)
Air filters play a crucial role in car maintenance by ensuring that clean air flows into the engine and cabin. A dirty air filter can reduce fuel efficiency and performance.
Importance of Clean Air Filters for Vehicle Maintenance
- The engine air filter prevents dirt and debris from entering the engine, improving fuel combustion.
- The cabin air filter ensures clean air inside the car, improving air quality and reducing allergens.
DIY Replacement Guide
- Locate the engine air filter housing under the hood. Unclip or unscrew the cover and remove the old filter.
- Insert the new filter, ensuring it fits snugly, then secure the cover back in place.
- To replace the cabin air filter, check behind the glove compartment or under the dashboard.
- Remove the old filter, replace it with a new one, and secure the housing.
Both filters should be replaced every 12,000 to 15,000 miles, or more often in dusty conditions.
Inspecting and Replacing Spark Plugs
Spark plugs are essential for igniting the fuel-air mixture in your engine. Over time, they wear out and need replacing to maintain smooth engine performance.
Signs of Worn-Out Spark Plugs
- Reduced fuel efficiency
- Engine misfires or rough idling
- Difficulty starting the car
- Loss of acceleration power
DIY Spark Plug Replacement Steps
- Allow the engine to cool and locate the spark plugs (usually found on top of the engine).
- Disconnect the spark plug wires or ignition coils.
- Use a spark plug socket and ratchet to remove the old plugs.
- Check the gap on the new spark plugs using a gap gauge and adjust if needed.
- Insert the new plugs, tighten them securely (but not too tight), and reconnect the wires or coils.
Spark plugs should typically be replaced every 30,000 to 50,000 miles, depending on the type and manufacturer guidelines.
Checking and Maintaining Tire Health
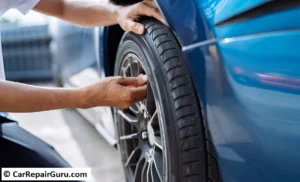
Proper tire maintenance enhances safety, improves fuel efficiency, and extends tire lifespan.
How to Perform a Tire Rotation
Rotating your tires ensures even wear, leading to better traction and longer tire life. To do this:
- Lift the car using a jack and jack stands.
- Remove each tire and rotate them according to your car’s recommended pattern (front-to-back or diagonal).
- Reinstall the tires and tighten the lug nuts evenly.
A tire rotation should be done every 5,000 to 7,500 miles.
Checking Tread Depth and Tire Pressure
- Use a tread depth gauge or the penny test (insert a penny into the tread; if you see Lincoln’s head, it’s time to replace the tires).
- Check tire pressure with a gauge and adjust according to the recommended PSI found in your vehicle manual or driver-side door frame.
By following these DIY car repair steps, you can ensure better safety, handling, and fuel efficiency while avoiding unexpected breakdowns.
Advanced Maintenance Tasks
Once you’ve mastered the basics of DIY car maintenance, it’s time to tackle more advanced tasks that can significantly impact your vehicle’s performance and longevity. These maintenance tasks ensure safety, efficiency, and prevent costly breakdowns.
Brake Pad Inspection and Replacement
Your brake system is one of the most important safety components in your car. Over time, brake pads wear down, reducing braking efficiency and increasing stopping distance. Regular inspections help prevent brake failure.
Recognizing Brake Repair Needs
Signs that your brake pads need replacing include:
- Squeaking or grinding noises when braking
- A soft or spongy brake pedal
- Longer stopping distances
- Brake warning light on the dashboard
Ignoring these signs can lead to more expensive brake system repairs, including rotor or caliper damage.
Steps for DIY Brake Pad Replacement
- Lift the car safely using a jack and jack stands. Remove the wheels to access the brakes.
- Inspect the brake pads—if they’re less than ¼-inch thick, replace them.
- Remove the caliper bolts and carefully slide the caliper off the rotor.
- Replace the old brake pads with new ones, ensuring they fit securely in place.
- Reattach the caliper, tighten the bolts, and put the wheels back on.
- Test the brakes before driving to ensure proper function.
Brake pads should generally be replaced every 30,000 to 70,000 miles, depending on driving habits and road conditions.
Battery Maintenance and Replacement
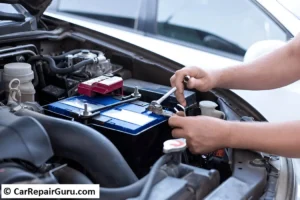
A healthy car battery is essential for starting your vehicle and powering electrical components. Proper maintenance extends battery life and prevents unexpected failures.
Testing and Replacing a Car Battery
To check your battery health, use a multimeter or battery tester. A fully charged battery should read 12.6 volts or higher when the car is off and 13.7 to 14.7 volts when the engine is running.
If your battery is weak or more than 3-5 years old, replacing it is the best option. Here’s how:
- Turn off the car and disconnect the negative (-) terminal first, followed by the positive (+).
- Remove the old battery and clean any corrosion from the terminals using a battery cleaner or baking soda and water.
- Install the new battery, securing it in place and reconnecting the terminals (positive first, then negative).
- Start the engine to ensure everything is functioning properly.
Avoiding Common Car Battery Replacement Mistakes
- Never reverse terminal connections—this can cause serious electrical damage.
- Check for corrosion regularly—dirty terminals can prevent a strong connection.
- Ensure the battery is properly secured—loose batteries can shift and cause internal damage.
Routine battery maintenance can extend its lifespan and reduce the risk of getting stranded due to a dead battery.
Flushing and Replacing Coolant
Your coolant system prevents the engine from overheating and helps regulate temperature in extreme weather conditions. Over time, coolant breaks down and collects contaminants, reducing its effectiveness.
Importance of Coolant System Maintenance
- Prevents engine overheating and potential damage
- Protects against corrosion and buildup inside the radiator and engine
- Ensures efficient heat dissipation, keeping the engine at an optimal temperature
Most manufacturers recommend flushing the coolant every 30,000 to 50,000 miles, but check your vehicle manual for specific intervals.
DIY Coolant Flushing Guide
- Ensure the engine is completely cool before starting. Never open the radiator cap when hot.
- Locate the drain plug at the bottom of the radiator and place a container underneath to catch the old coolant.
- Drain the old coolant, then close the drain plug securely.
- Refill with new coolant (use the type recommended by your vehicle manufacturer).
- Run the engine with the heater on to allow the new coolant to circulate. Check for leaks and top off if needed.
By keeping your coolant system clean and functional, you prevent overheating and maintain peak engine performance year-round.
Mastering these advanced car maintenance tasks not only saves you money but also gives you confidence in handling your vehicle. With the right knowledge and tools, you can keep your car running smoothly and safely for years to come.
Common Mistakes to Avoid in DIY Maintenance
Performing DIY car maintenance can save money and extend your vehicle’s lifespan, but mistakes can lead to costly repairs or safety hazards. Here are some common errors to avoid:
1. Over-Tightening Bolts During Auto Repair
Many DIYers assume that tighter is better when securing bolts, but over-tightening can:
- Strip threads, making future repairs difficult.
- Warp brake components, affecting stopping power.
- Crack delicate parts, like the oil pan or spark plug housing.
💡 Tip: Always use a torque wrench and follow the manufacturer’s recommended torque settings.
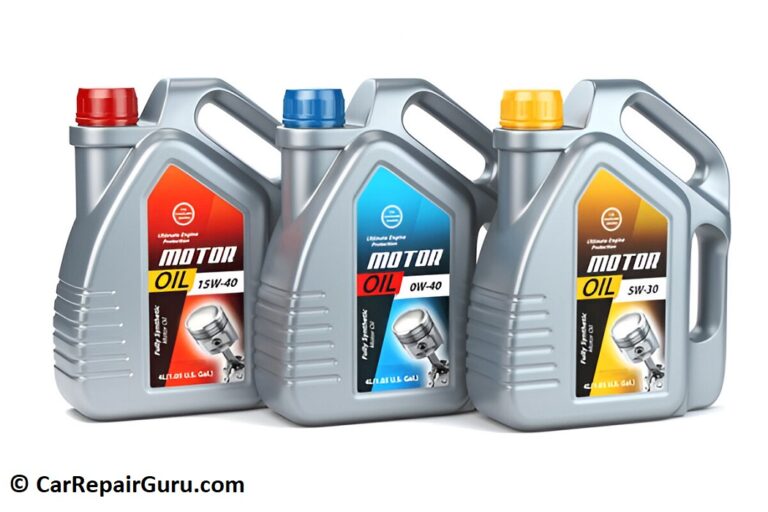
2. Using Incorrect Car Service Fluids
Each car requires specific fluids, and using the wrong type can cause damage:
- Engine oil: The wrong viscosity affects lubrication.
- Coolant: Mixing incompatible coolants can cause clogs.
- Brake fluid: Using the wrong type reduces braking efficiency.
💡 Tip: Always check your vehicle manual to use the correct fluids.
3. Ignoring Car Diagnostics for Early Detection of Issues
Many car issues start small but become expensive if ignored. Skipping diagnostic checks can lead to:
- Engine damage from ignored warning lights.
- Battery failure from undetected voltage drops.
- Transmission problems from delayed fluid changes.
💡 Tip: Use an OBD-II scanner to read error codes and address issues early.
Avoiding these mistakes ensures your DIY car repairs are safe, effective, and beneficial in the long run.
When to Seek Professional Help
While DIY car maintenance can save money, some repairs require professional expertise. Knowing when to seek help can prevent costly mistakes and ensure your safety.
Identifying Tasks Beyond DIY Car Maintenance
Some repairs are too complex or dangerous for DIY, including:
- Transmission repair – Incorrect work can cause total failure.
- Airbag system fixes – Mishandling can lead to accidental deployment.
- Advanced electrical issues – Can cause system-wide malfunctions.
Risks of Incorrect Auto Repair
Attempting difficult repairs without proper knowledge can lead to:
- Increased repair costs due to damage from mistakes.
- Safety hazards, such as brake or steering failures.
- Warranty voiding if manufacturer guidelines are not followed.
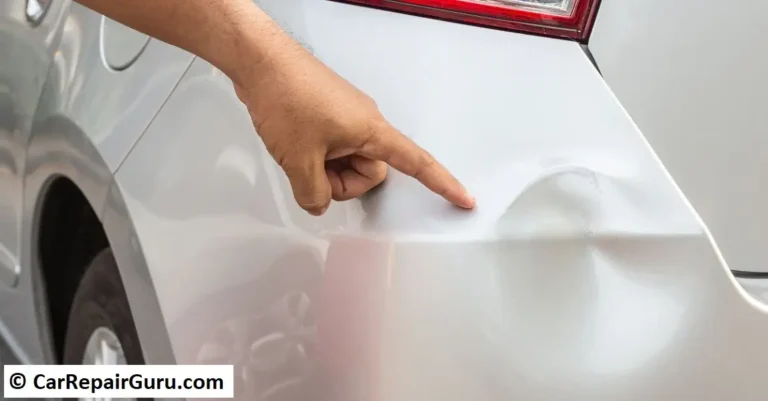
When Vehicle Inspection Is Necessary
If you notice strange noises, warning lights, leaks, or performance issues, it’s best to visit a mechanic. Regular professional inspections can prevent breakdowns and keep your car running safely.
Resources for DIY Enthusiasts
Whether you’re a beginner or an experienced DIYer, having the right resources can make car maintenance easier and more effective. Here are some valuable tools to guide your repairs and troubleshooting.
Recommended Car Repair Manuals
- Haynes & Chilton Manuals – Step-by-step guides tailored to specific car models.
- Manufacturer Service Manuals – The most accurate source for factory-recommended repairs.
- Bentley Publishers Manuals – Ideal for European car owners.
Online Communities for Automotive Troubleshooting
- r/MechanicAdvice (Reddit) – Community-driven repair advice.
- Car Talk Community – Discussions with experienced mechanics.
- AutoZone Repair Help – Free guides and troubleshooting tips.
Apps for Tracking Vehicle Maintenance
- Carfax Car Care – Tracks service history and recalls.
- Drivvo – Logs fuel consumption and maintenance schedules.
- OBD Auto Doctor – Reads diagnostic trouble codes (DTCs).
Using these resources ensures your DIY car maintenance is well-informed, accurate, and efficient.
Conclusion
Mastering DIY car maintenance offers significant cost savings, enhances vehicle safety, and empowers you to take better care of your car. By handling routine tasks like oil changes, brake inspections, and battery maintenance, you can extend your vehicle’s lifespan and avoid expensive repairs.
Start with basic DIY car repairs and gradually build your skills. Use trusted resources, follow safety guidelines, and don’t hesitate to seek professional help for complex issues.
Regular vehicle maintenance and continuous learning will keep your car running efficiently, ensuring a smoother and safer driving experience for years to come.
FAQ – DIY Car Maintenance
What are the easiest DIY car maintenance tasks for beginners?
Beginners can start with simple tasks like checking tire pressure, replacing air filters, changing engine oil, inspecting wiper blades, and maintaining battery terminals. These require minimal tools and help keep your car in good condition.
How often should I change my car’s oil?
The recommended oil change interval depends on your car and oil type. Generally, every 5,000–7,500 miles for conventional oil and up to 10,000 miles for synthetic oil. Always check your owner’s manual for exact recommendations.
What safety precautions should I take when working on my car?
Wear gloves and safety glasses, ensure a well-ventilated workspace, use jack stands when lifting the car, and follow the manufacturer’s guidelines to prevent accidents and ensure proper repairs.
How do I know if my car battery needs to be replaced?
Signs of a failing battery include slow engine cranking, dim headlights, frequent jump-starts, and dashboard warning lights. You can also use a multimeter to check if the voltage is below 12.4V when the car is off.
When should I consult a professional instead of doing DIY repairs?
Seek professional help for complex repairs like transmission issues, airbag system repairs, advanced electrical problems, or engine rebuilds. If you’re unsure about a repair or lack the necessary tools, it’s safer to visit a mechanic.