Rust can be every car owner’s nightmare, but knowing how to repair car rust can save you money and extend your vehicle’s lifespan. Rust not only affects your car’s appearance but can also lead to structural damage if left untreated. The good news? With the right tools, materials, and a little patience, you can tackle car rust repair on your own.
This guide will take you through a step-by-step process to remove rust from your car, fix any damage, and protect your vehicle from future corrosion. Whether you’re dealing with minor surface rust or more serious issues, you’ll find practical tips and insights to get the job done right.
Let’s dive in and learn how to transform rusted areas into a smooth, polished finish that looks as good as new. It’s easier than you think, and the rewards are well worth the effort!
Tools and Materials Needed
Before you begin repairing car rust, gathering the right tools and materials is essential for a successful job. Here’s a comprehensive list of what you’ll need:
Essential Tools and Materials
- Sandpaper (varied grits): To remove paint, primer, and surface rust effectively.
- Rust Converter: A chemical solution to neutralize rust and prevent it from spreading.
- Primer: Preferably an etching primer for metal surfaces, ensuring better paint adhesion.
- Automotive Paint and Clear Coat: To match your car’s color and protect the repaired area.
- Wire Brush or Grinder: For removing deep rust or rust in hard-to-reach areas.
- Body Filler: To repair holes or gaps caused by severe rust.
Safety Gear
Rust repair involves chemicals, dust, and sharp tools, so prioritize safety:
- Safety Goggles: Protect your eyes from flying debris.
- Gloves: Shield your hands from rust particles and chemicals.
- Dust Mask or Respirator: Prevent inhalation of rust dust and fumes.
- Protective Clothing: Long sleeves and pants to safeguard your skin.
Having these items on hand will ensure a smoother, safer rust repair process. With the right preparation, you’ll be ready to tackle even the toughest spots on your car.
Step-by-Step Process to Repair Car Rust
Step 1: Safety First
Before starting any rust repair DIY project, prioritize your safety. Always wear protective gear, including gloves, goggles, and a dust mask or respirator, to shield yourself from harmful dust, chemicals, and sharp edges. Long sleeves and sturdy footwear are also recommended to protect your skin.
Choose a well-ventilated workspace to avoid inhaling fumes from rust converters, primers, and paints. If you’re working indoors, ensure proper airflow by opening windows or using a fan. Safety measures not only protect you but also set the stage for a smooth and efficient automotive rust repair process.
Step 2: Assessing the Rust Damage
Not all rust is created equal. Assessing the severity of the rust on your car will help you determine the best repair approach.
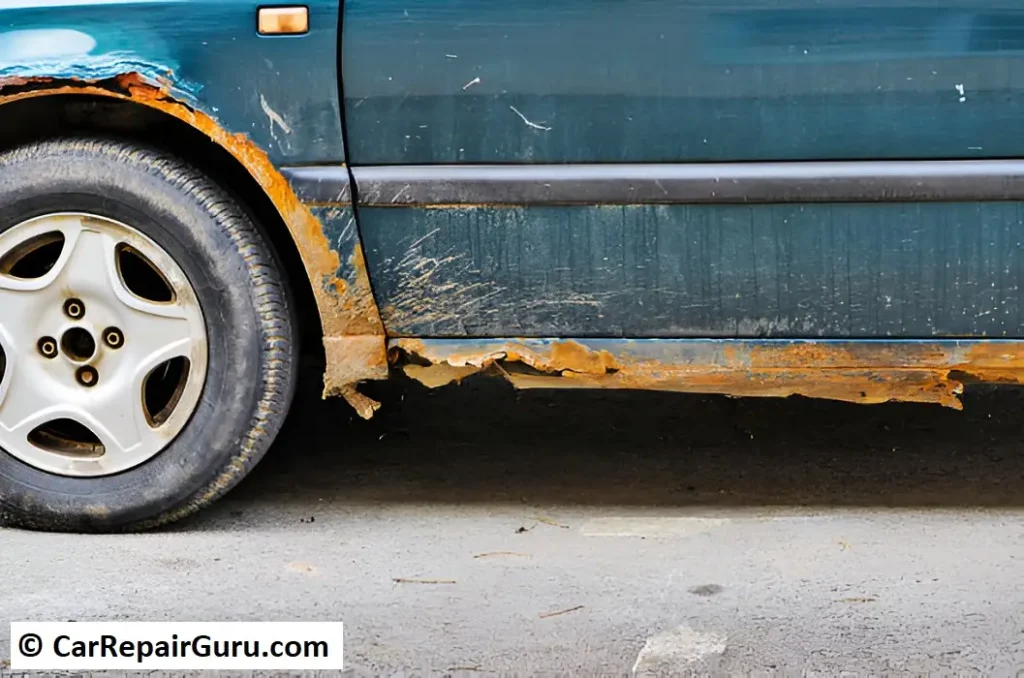
- Surface Rust: This type is usually cosmetic and appears as small, orange spots on the paint. It’s relatively easy to fix with sanding and repainting.
- Scale Rust: This occurs when surface rust has been left untreated, causing it to penetrate the metal and create rough, pitted areas.
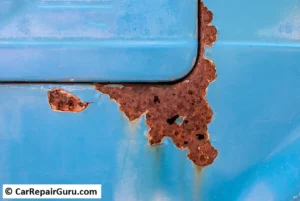
- Penetrating Rust: The most severe form, where rust eats through the metal, leaving holes or weak spots.
Examine the affected area carefully. Use a screwdriver to gently tap on the metal; soft or brittle spots may indicate deep corrosion. Understanding the type and extent of damage is crucial for targeted and effective rust repair DIY.
Step 3: Preparing the Surface

Preparation is the foundation of successful car rust removal. Start by cleaning the rusted area thoroughly with soap and water to remove dirt, grease, and grime. Allow it to dry completely before proceeding.
Next, use sandpaper or a wire brush to remove loose rust and paint. Begin with coarse-grit sandpaper (around 80 grit) to tackle the rough spots, then switch to finer grits (120-180) to smooth the surface. Be thorough—any rust left behind can continue to spread even after repairs.
For larger or heavily rusted areas, consider using an electric grinder for faster results. Once the rust is removed, wipe the surface with a clean cloth and rubbing alcohol to eliminate dust and oils. A clean, rust-free surface ensures the subsequent steps, such as priming and painting, will adhere properly.
Step 4: Applying Rust Converter
A rust converter is a chemical solution that stabilizes rust and prevents it from spreading. Apply it to the affected area using a brush or spray, following the manufacturer’s instructions.
The rust converter reacts with the iron oxide (rust) to form a stable, black surface that’s ready for priming. Allow it to dry completely, typically for 24 hours, depending on the product. This step is especially crucial for areas where all rust couldn’t be sanded away.
Rust converters not only save time but also add an extra layer of protection, ensuring a strong foundation for your automotive rust repair project.
Step 5: Filling Holes or Gaps
For severe rust damage that leaves holes or gaps, body filler is your best friend. Begin by mixing the filler according to the product instructions. Using a plastic applicator, spread the filler evenly over the damaged area. Work quickly, as most fillers harden within minutes.
Once the filler has cured, use coarse-grit sandpaper to smooth it out and shape it to match the car’s contours. Follow up with finer grits to ensure a seamless finish.
Inspect the area carefully and add more filler if necessary to cover imperfections. A smooth, even surface is key to achieving a professional look during your rust repair DIY process.
Step 6: Priming and Painting
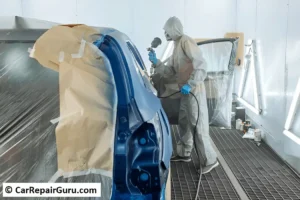
Priming and painting are essential for restoring your car’s appearance and protecting it from future rust. Start by applying an etching primer to the repaired area. This type of primer bonds well to metal and creates a solid base for the paint. Apply 2-3 thin coats, allowing each coat to dry completely.
Once the primer is set, it’s time to paint. Use automotive paint that matches your car’s color. Spray or brush on the paint in thin, even layers, building up coverage gradually. Allow each coat to dry for the recommended time.
Finish the process with a clear coat to add a glossy finish and protect the paint from UV rays, moisture, and other environmental factors. The clear coat also ensures your car rust removal efforts last longer.
Allow the paint to cure for 24-48 hours before handling the area. With careful application, your car will look as good as new!
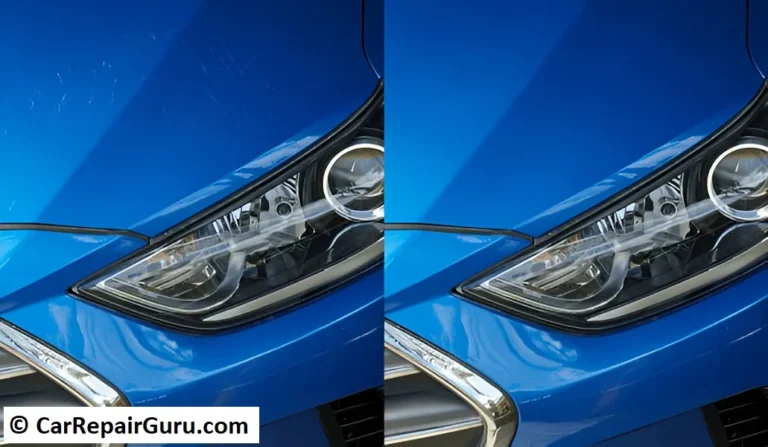
Step 7: Final Finishing Touches
After the paint has fully cured, buff and polish the repaired area to blend it seamlessly with the rest of the car. Use a polishing compound and a microfiber cloth to restore shine and eliminate any minor imperfections in the paint.
Inspect the repair closely, and if needed, apply a wax or sealant for added protection. These finishing touches not only enhance the look of your car but also reinforce your efforts in learning how to repair car rust effectively.
Take pride in your work—you’ve successfully restored your car’s beauty and protected it from further damage!
Preventing Future Rust Issues
Preventing rust is as important as repairing it. By taking a few proactive steps, you can protect your car from corrosion and ensure it stays in great condition for years to come.
1. Apply Rust-Proofing Wax and Sprays
Rust-proofing products, such as wax and sprays, create a protective barrier against moisture, salt, and dirt—the leading causes of rust. After cleaning and drying your car, apply rust-proofing wax to areas prone to rust, such as the undercarriage, wheel wells, and door edges. For hard-to-reach spots, use a spray-on rust inhibitor. Reapply these products annually, especially before winter when roads are often treated with salt.
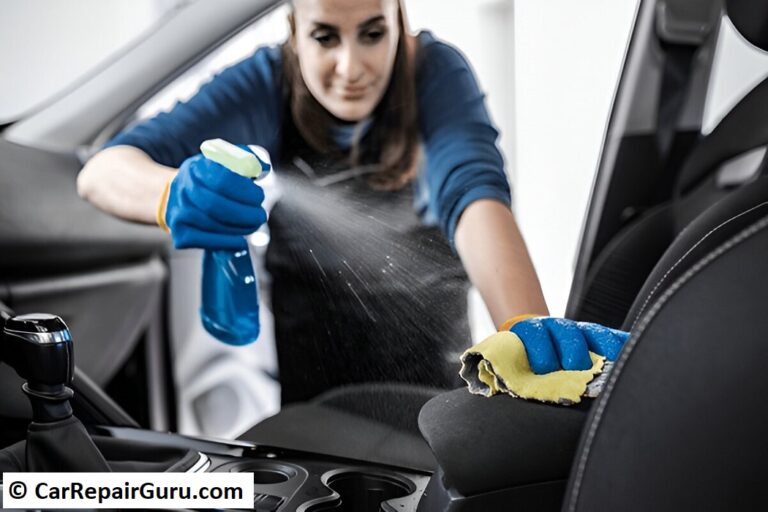
2. Regular Vehicle Maintenance
Consistent maintenance is key to preventing rust. Wash your car frequently to remove dirt, salt, and debris, paying extra attention to the undercarriage. During winter, rinse off road salt regularly, as it accelerates rust formation. Wax your car every three to six months to maintain a protective layer over the paint.
Inspect your car regularly for scratches or dents that expose bare metal, as these are prime spots for rust to start. Address minor damage promptly by cleaning, sanding, and applying touch-up paint.
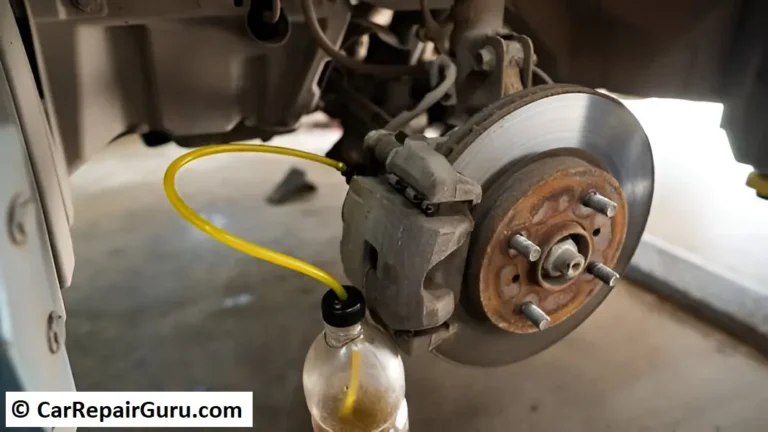
3. Clean and Inspect Rust-Prone Areas
Certain areas of your car are more vulnerable to rust, including:
- Undercarriage
- Wheel wells
- Door sills and edges
- Around the fuel cap
- Under mats and carpet in the interior
Check these spots during routine cleanings. Remove debris and moisture build-up to prevent rust from taking hold.
By incorporating these preventive measures into your vehicle care routine, you’ll minimize the risk of rust and save yourself time, money, and effort in the long run. A little extra care now can go a long way in keeping your car rust-free!
Common Mistakes to Avoid
While repairing car rust is a manageable DIY project, certain mistakes can compromise your results and even lead to further issues. Here are the most common pitfalls to watch out for:
1. Not Removing All Rust Before Painting
One of the biggest mistakes is failing to completely remove rust before applying paint. Any remaining rust, even small traces, can continue to spread beneath the new paint, undoing your hard work. Take your time during the sanding process and use a rust converter to ensure all rust is neutralized.
2. Skipping the Priming Step
Primer is essential for a smooth, durable finish. Skipping this step can lead to poor paint adhesion, uneven surfaces, and faster rust recurrence. Always apply an etching primer to the repaired area before painting to create a solid base and extend the life of the repair.
3. Using Incorrect Tools or Safety Practices
Using improper tools, such as low-quality sandpaper or paint, can result in subpar repairs. Invest in automotive-grade materials to achieve professional-looking results. Additionally, neglecting safety gear, like goggles, gloves, and masks, can expose you to harmful chemicals and debris.
Avoid these mistakes by following proper techniques, taking safety precautions, and using quality materials. With careful attention to detail, you’ll ensure a long-lasting and effective rust repair!
Conclusion
Knowing how to repair car rust is an invaluable skill that can extend your vehicle’s lifespan and save you money on costly professional repairs. Rust not only affects your car’s appearance but can also weaken its structural integrity if left untreated. Tackling rust as soon as you spot it ensures your car remains in top condition.
Regular rust inspections and maintenance are key to rust-free car ownership. Clean your vehicle frequently, inspect high-risk areas, and promptly address any minor rust spots. By investing a little time and effort into prevention and repair, you can protect your car from the damaging effects of rust and maintain its value for years to come.
Whether you’re dealing with surface rust or deeper corrosion, following the steps in this guide will help you achieve a professional-looking finish and keep your car in great shape.
FAQ Section
How long does it take to repair car rust?
The time required depends on the extent of the rust. Surface rust repairs may take a few hours, including sanding, priming, and painting. For deeper rust or areas requiring body filler, the process could take a full day or more, as you’ll need to allow time for materials like filler and paint to cure.
Can I repair car rust without professional help?
Yes! Most car owners can manage DIY rust repair with the right tools and guidance. This guide provides step-by-step instructions to help you achieve professional-looking results at home. However, for extensive rust damage affecting critical structural areas, consulting a professional is recommended.
What is the best way to prevent car rust?
Preventing rust involves regular cleaning to remove dirt and salt, especially in winter. Applying rust-proofing wax or sprays adds an extra layer of protection, and promptly addressing minor scratches or rust spots prevents further spread. Regular inspections of rust-prone areas also help catch issues early.
Do I need special paint for rust repair?
Yes, it’s important to use automotive-grade paint that matches your car’s color. Pair it with an etching primer and a clear coat for a seamless finish and long-lasting protection against future rust.
What tools do I need for repairing car rust?
The essential tools include sandpaper (varied grits), a wire brush, rust converter, etching primer, automotive paint, and a clear coat. Safety gear like gloves, goggles, and a mask is also necessary to ensure safe and effective rust removal.