The sun is setting earlier, a long road trip looms, or you catch the faint reflection of your own car in a storefront window and think, “Wait, is that light out?”
Let’s be honest: your car’s lights are probably the last thing on your mind… until they’re not working. But ensuring your car lights are functioning is one of the simplest and most critical aspects of vehicle maintenance. It’s not just about avoiding a traffic ticket; it’s about fundamental safety—seeing the road ahead and, just as importantly, being seen by everyone else.
A burnt-out bulb can be more than an inconvenience; it can be a failed inspection, a costly fine, or worse, a factor in an accident. The good news? Performing a complete car light check takes less than five minutes.
In this guide, we’ll walk you through a simple, step-by-step process to check every essential light on your car. We’ll show you how to troubleshoot common problems and share pro tips to keep your lights shining bright.
- Your Complete Car Light Checklist
- Front Lights
- Rear Lights
- Hazard Lights (Emergency Flashers)
- Your Step-by-Step Guide to a Complete Car Light Check
- Vehicle Light Requirements & Inspections
- A Light Is Out. Now What? Common Causes and Fixes
- Cause #1 – A Burnt-Out Bulb (The Usual Suspect)
- Cause #2 – A Blown Fuse
- Cause #3 – Faulty Wiring or Corrosion
- Upgrading Your View – A Guide to Modern Car Light Technology
- Car Light Maintenance & Pro Tips
- Your Road to Safety is a Bright One
- Frequently Asked Questions About Car Lights
- Why Is My Turn Signal Blinking So Fast?
- Can I Get a Ticket for One Burnt-Out Light?
- Should I Replace Headlight Bulbs in Pairs?
- How Do I Check My Brake Lights By Myself?
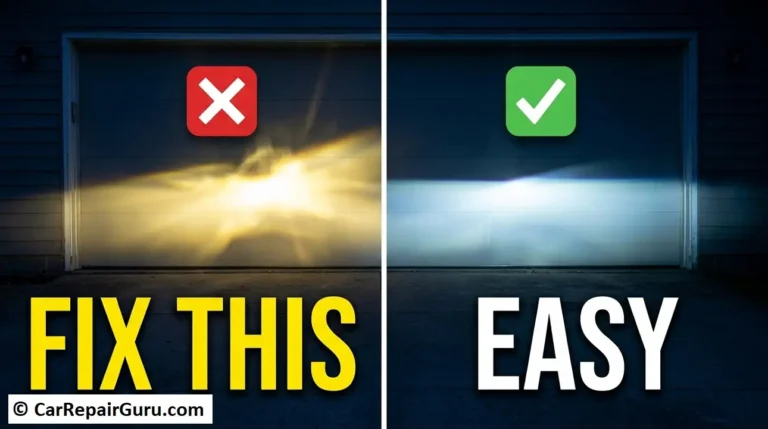
- Are Foggy or Yellow Headlights a Safety Issue?
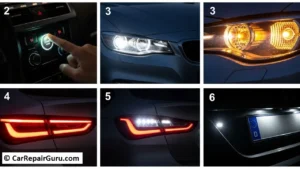
Your Complete Car Light Checklist
Before we dive into the “how-to,” let’s get familiar with what you need to check. Think of this as your quick-reference map to your car’s entire lighting system.
Front Lights
- Low Beam Headlights: Your normal, everyday driving lights.
- High Beam Headlights: For use on empty roads to see further down the road.
- Turn Signals / Indicators: The flashing amber lights (front left & right).
- Parking Lights / Sidelights: Smaller, dimmer lights used for being seen when parked.
- Fog Lights: Low, wide-beam lights for use in poor visibility (if your car has them).
Rear Lights
- Tail Lights: The red lights that are on whenever your headlights are on.
- Brake Lights: The bright red lights that activate only when you press the brake pedal. This includes the third, high-mount brake light in your rear window or on the trunk.
- Turn Signals / Indicators: The flashing amber or red lights (rear left & right).
- Reverse Lights: The bright white lights that turn on when you shift into reverse.
- License Plate Light: The small white light that illuminates your license plate.
Hazard Lights (Emergency Flashers)
This single button tests all four of your turn signal bulbs at once, making it a quick way to check their function.
Your Step-by-Step Guide to a Complete Car Light Check
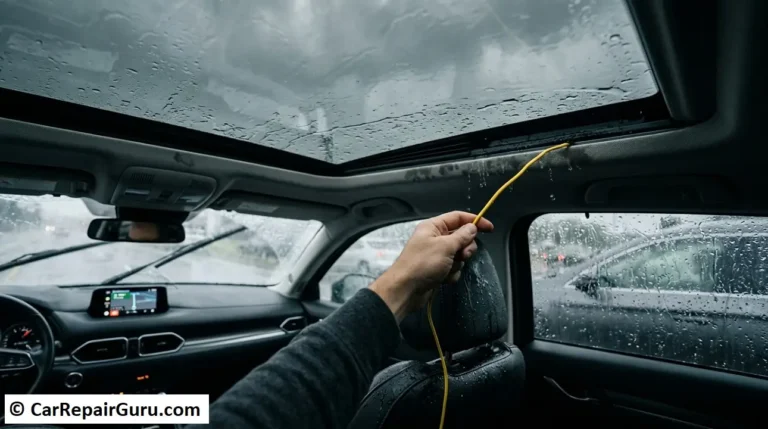
Ready to get started? All you need are your car keys and a safe place to park. If you can park facing a garage door, a wall, or even a large window, it will make checking the front lights even easier.
Step 1: Park Safely and Turn on the Power
Park on a level surface and engage your parking brake. You don’t need to start the engine, just turn the key to the “On” or “Acc” position to power the electronics.
Step 2: Check the Front Lights
With the car’s power on, cycle through your main light switch, usually located on a stalk behind the steering wheel or a dial on the dashboard.
- Turn on the Parking Lights. Get out and walk to the front. You should see two small, dim lights illuminated.
- Switch to Low Beam Headlights. The main headlights should now be on. Check the reflection on the wall or look at them directly (don’t stare!). Both should be on and of equal brightness.
- Activate the High Beams. You’ll typically pull the stalk toward you or push it away. You should see the light pattern on the wall jump up, or you can confirm both are shining brightly.
Step 3: Test Turn Signals and Hazard Lights
- Activate your left turn signal. Walk to the front and back of the car to ensure both the front and rear signals are flashing at a steady, consistent pace.
- Repeat for the right turn signal.
- Finally, press the hazard light button (the red triangle). All four corner lights should be flashing in unison. This is a fantastic confirmation that all your signal bulbs are working.
Step 4: The Crucial Brake Light Test
This is the one that trips most people up. How do you press the brake pedal and be behind the car at the same time? Here’s how to check brake lights by yourself:
- The Reflection Method: This is the easiest solo trick. Back your car up so it’s a few feet from a reflective surface like a garage door, a large window, or another parked car. Now, look in your rearview mirror as you press the brake pedal. You should clearly see the reflection of all three brake lights (left, right, and the high-mount center one) illuminate.
- The Stick Trick: Find a sturdy object like a broom handle, a piece of wood, or even a collapsed umbrella. Wedge it between the front of your driver’s seat and the brake pedal, pushing the seat forward to apply pressure. Then, you can walk around back and check the lights yourself.
- The Helper Method: Of course, the simplest way is to ask a friend or family member to stand behind the car while you press the brake.
Step 5: Check the Reverse Lights
While your foot is still on the brake, shift the car into Reverse (R). The two bright, white reverse lights at the rear should come on. You can use the reflection method again or hop out for a quick look.
Step 6: Don’t Forget the License Plate Light!
With your parking lights or headlights still on, walk to the rear of your vehicle. A small, often overlooked light should be illuminating your license plate. This is a common cause for traffic stops, so don’t skip it!
Vehicle Light Requirements & Inspections
Performing a regular car light check isn’t just good practice; it’s a legal requirement. A single burnt-out bulb can lead to unwanted attention from law enforcement and almost certain failure during a state vehicle inspection.
Common Light-Related Inspection Failures:
- Any non-working brake light: Inspectors have zero tolerance for this. All three must work.
- A burnt-out headlight: A car with one headlight looks like a motorcycle at a distance, creating a serious hazard.
- Cracked or broken lenses: If a lens has a hole or major crack, it can fail inspection because it allows moisture to damage the electronics and can alter the light color.
- Illegal colors: Headlights must be white or amber, and rear-facing lights (except reverse) must be red. Aftermarket blue or red lights on the front are a guaranteed ticket and inspection failure.
The hassle of a “fix-it” ticket—where you have to get the light repaired and then prove it to the court or police—is far more trouble than the five minutes it takes to ensure car lights are functioning properly in the first place.
A Light Is Out. Now What? Common Causes and Fixes
So you did your check and found one of your car lights not working. Don’t worry. The fix is usually simple and inexpensive. Here are the most common culprits.
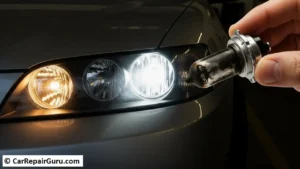
Cause #1 – A Burnt-Out Bulb (The Usual Suspect)
Just like the lightbulbs in your home, car bulbs have a limited lifespan. This is the cause of a dead light over 90% of the time.
- Actionable Advice: Replacing a bulb is often a straightforward DIY job. Your owner’s manual will show you the correct bulb type and how to access it. For most tail lights and turn signals, it’s as easy as opening a small panel in the trunk. Headlights can sometimes be more involved, but many are still very accessible.
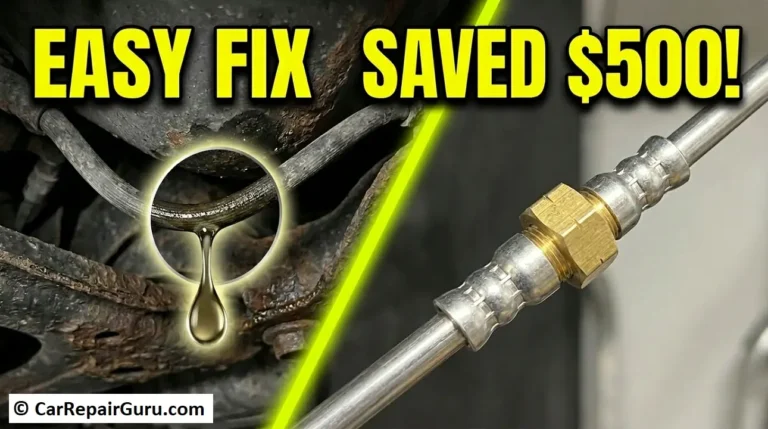
Cause #2 – A Blown Fuse
Your car’s electrical system is protected by fuses. If there’s a power surge, a fuse will blow to protect the more expensive components.
- Actionable Advice: Your owner’s manual will have a diagram showing you where your fuse boxes are (often one under the hood and one inside the cabin) and which fuse corresponds to which light. You can visually inspect the fuse—if the little metal wire inside is broken, the fuse is blown and needs to be replaced with one of the exact same amperage. For a detailed guide, check out our post on car fuse replacement.
Cause #3 – Faulty Wiring or Corrosion
If a new bulb and a good fuse don’t solve the problem, the issue could be with the wiring or the socket the bulb sits in. You might notice flickering lights or a light that works intermittently.
- Actionable Advice: This is where things can get more complex. While you can check for obvious corrosion on the bulb socket terminals (which can sometimes be cleaned off), tracing wiring issues is often best left to a professional mechanic. Understanding the basics of the car electrical system guide can help you decide if it’s a job you want to tackle.
Upgrading Your View – A Guide to Modern Car Light Technology
Not all car lights are created equal. If you have an older vehicle, you might be considering an upgrade for better night-time visibility. Here’s a quick rundown of the technology.
| Light Type | Pros | Cons |
|---|---|---|
| Halogen | Inexpensive, widely available, easy to replace. | Shortest lifespan, yellowish/warm light, least efficient. |
| HID (Xenon) | Extremely bright, crisp blue-white light. | Expensive, complex installation, requires a warm-up time. |
| LED | Very bright, instant on, extremely long lifespan, energy efficient. | Higher upfront cost, can be complex to retrofit correctly. |
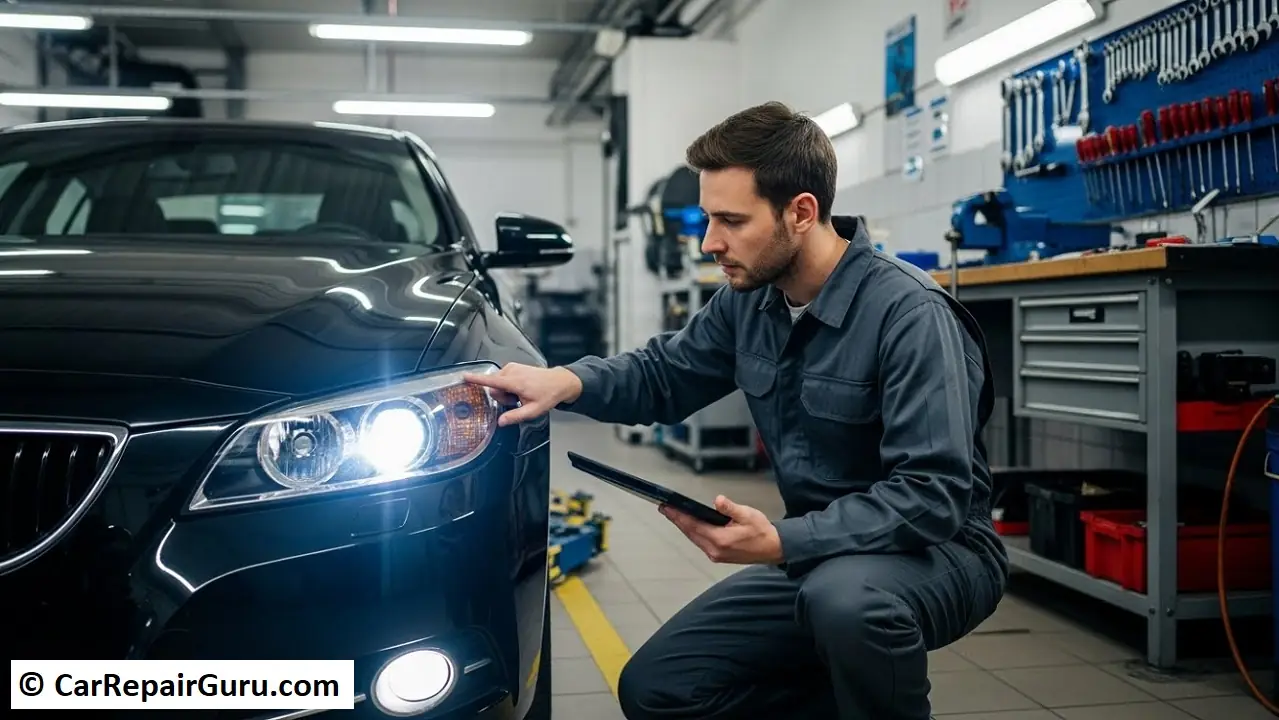
A Critical Note on Headlight Alignment
If you replace your headlight bulbs—especially if you are upgrading from halogen to LED—you must check the alignment. Properly aimed headlights illuminate the road and shoulder without shining into the eyes of oncoming drivers. Misaligned headlights are a major safety hazard, so have a professional check them to ensure they’re aimed perfectly.
Car Light Maintenance & Pro Tips
- Check Monthly: Make the 5-minute light check a part of your monthly routine, perhaps when you check your tire pressure.
- Keep Them Clean: A dirty, grimy headlight lens can reduce light output by as much as 50%! A simple wash with car soap and water can make a huge difference.
- Restore Hazy Headlights: If your plastic headlight lenses have turned yellow and foggy, use a headlight restoration kit or have them professionally serviced. Restoring clarity is one of the most effective ways to improve night visibility, and you might also consider car headlight upgrades for the best performance.
- Replace in Pairs: If one headlight or brake light bulb burns out, the other one on the opposite side is likely not far behind. Replace them in pairs to ensure even brightness, color, and lifespan.
Your Road to Safety is a Bright One
Your car’s lighting system is its most important safety feature for driving in the dark and poor weather. It allows you to see what’s ahead and communicates your intentions to every other driver on the road.
Don’t wait for a failed inspection or a warning from another driver. Take five minutes right now, walk outside, and perform a full headlight safety check. It’s the simplest, fastest, and most important piece of car light maintenance you can do to protect yourself and others on the road.
Frequently Asked Questions About Car Lights
Why Is My Turn Signal Blinking So Fast?
This rapid “hyper-flashing” is a built-in alert from your car. It almost always means one of the turn signal bulbs on that side of the vehicle, either in the front or the back, has burned out and needs to be replaced. It’s one of the most common car electrical problems DIYers run into.
Can I Get a Ticket for One Burnt-Out Light?
Yes, you can. A single non-functioning headlight, brake light, or even a license plate light is a citable offense in most places. This is a common reason for traffic stops and can result in a “fix-it” ticket or a fine.
Should I Replace Headlight Bulbs in Pairs?
It’s highly recommended. Headlight bulbs have a similar lifespan, so if one fails, the other is likely not far behind. Replacing them together ensures consistent brightness, color, and road safety.
How Do I Check My Brake Lights By Myself?
The easiest way is to back your car up close to a wall or garage door. When you press the brake pedal, you can see the reflection of all three brake lights clearly in your rearview mirror.
Are Foggy or Yellow Headlights a Safety Issue?
Absolutely. Hazy headlight lenses can severely reduce the amount of light reaching the road, impairing your visibility at night. Restoring them is a critical step for safe night-time driving.