Of all the complex systems in your car, none are more critical to your safety than the one that makes it stop. Yet, for many of us, the brake system is a mystery—an out-of-sight, out-of-mind component we only think about when something goes wrong.
But waiting for a problem is the most expensive and dangerous way to manage your brakes.
Proactive brake system maintenance isn’t just for mechanics; it’s for every driver who wants a safer ride, a healthier wallet, and peace of mind on the road.
This guide will walk you through everything you need to know. We’ll demystify the components, teach you how to spot warning signs, and give you a simple brake maintenance checklist you can use to stay ahead of costly repairs.
Let’s get started.
- Anatomy of a Modern Brake System
- Listen to Your Car – 7 Signs Your Brakes Need Maintenance
- 1. The Dreaded Squeal or Grinding Noise
- 2. A Spongy, Squishy, or Soft Brake Pedal
- 3. Vibrating or Pulsating When Braking
- 4. Your Car Pulls to One Side
- 5. Dashboard Warning Lights Are On
- 6. A Burning Smell After Driving
- 7. Visible Fluid Leaks
- Pro Tips – How to Make Your Brakes Last Longer
- The Essential Brake Maintenance Checklist
- Every Month – The 60-Second Visual Check
- Every 6 Months (or with Every Oil Change)
- Every 2 Years
- DIY Brake Maintenance – What You Can (and Can’t) Do
- How to Check and Top-Off Your Brake Fluid
- When to Call a Professional Mechanic
- Choosing the Right Brake Components for Your Car
- Brake Pad Materials Explained – Ceramic vs. Semi-Metallic
- Brake Rotors – Blank vs. Drilled & Slotted
- Don’t Wait for a Warning – Make Brake Maintenance a Priority
- Your Brake Maintenance Questions, Answered
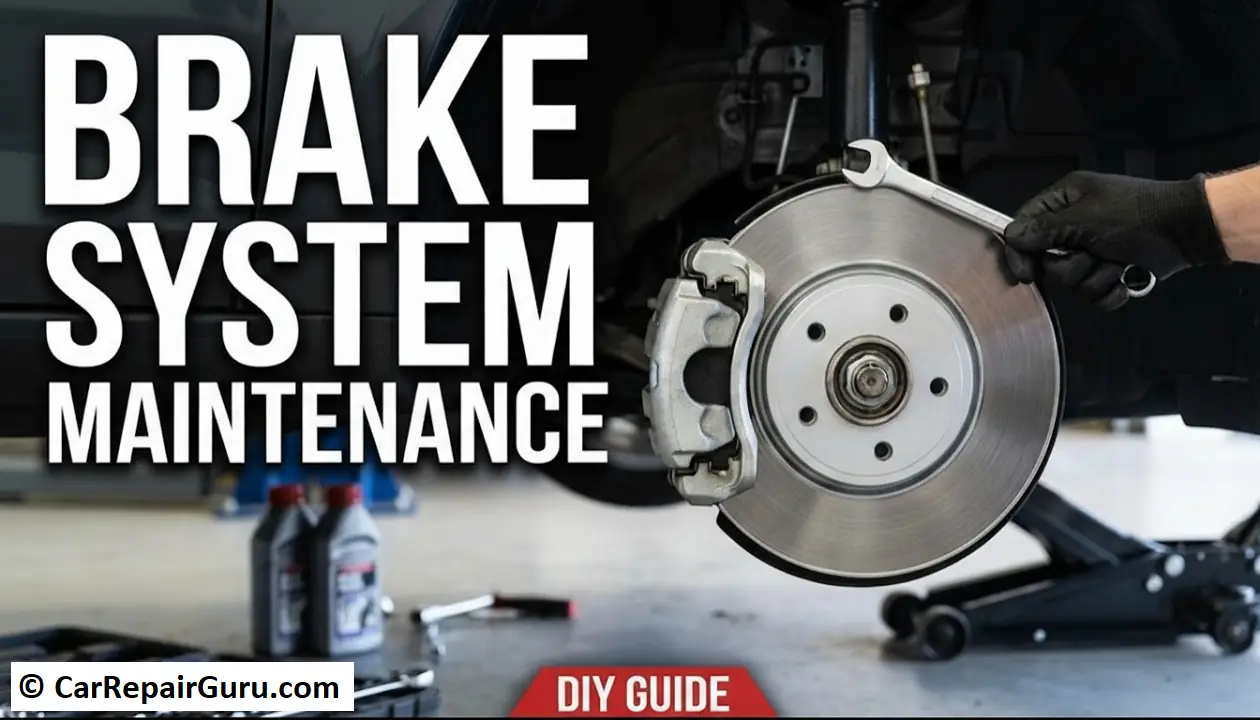
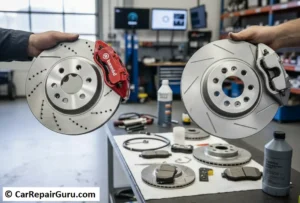
Anatomy of a Modern Brake System
Before you can maintain your brakes, it helps to know what you’re looking at. Think of it like a high-powered version of a bicycle handbrake. When you press the pedal, you’re setting off a chain reaction. Here are the key players:
- Brake Fluid: The unsung hero. This hydraulic fluid lives in a reservoir under your hood and transfers the force from your foot on the pedal to the brakes at the wheels.
- Master Cylinder: This is the component that converts your foot pressure into powerful hydraulic pressure.
- Brake Lines & Hoses: The network of tubes that carries the pressurized brake fluid to each wheel.
- Brake Caliper: A hydraulic clamp located at each wheel. When it receives pressure, it squeezes the brake pads against the rotor.
- Brake Pads: These are the friction workhorses. They are pressed against the rotors to create the friction that slows and stops your car.
- Brake Rotors (or Discs): The large metal discs that your wheels are bolted to. The pads clamp down on these to stop the wheel’s rotation.
When all these parts work together in harmony, your two-ton vehicle comes to a smooth, controlled stop. When one fails, the entire system is compromised.
Listen to Your Car – 7 Signs Your Brakes Need Maintenance
Your car is constantly talking to you—especially when it comes to the brakes. Learning to recognize these signals is the first step in any car brake inspection. If you notice any of the following, it’s time to pay immediate attention.
1. The Dreaded Squeal or Grinding Noise
That high-pitched squeal you hear when you first press the pedal isn’t just an annoying sound. It’s a built-in safety feature called a “wear indicator”—a small metal tab on the brake pad that makes noise when the pad material is getting low. Ignore it, and that squeal will turn into a deep, metallic grinding. That’s the sound of metal-on-metal, a dangerous situation that is destroying your rotors.
2. A Spongy, Squishy, or Soft Brake Pedal
Does your brake pedal feel mushy or sink closer to the floor than it used to? This is a classic sign of air or moisture in the brake lines, or worse, a brake fluid leak. A firm pedal is a safe pedal; a spongy one requires immediate diagnosis.
3. Vibrating or Pulsating When Braking
If you feel a vibration or shudder through the steering wheel or brake pedal when you slow down, you likely have warped brake rotors. Overheating can cause the flat surface of the rotor to become uneven, causing the pads to bounce over the surface instead of pressing smoothly.
4. Your Car Pulls to One Side
When you hit the brakes, your car should stop in a straight line. If it consistently pulls to the left or right, it could mean one of your brake calipers is stuck or not applying pressure evenly. This is a significant safety hazard that needs to be fixed.
5. Dashboard Warning Lights Are On
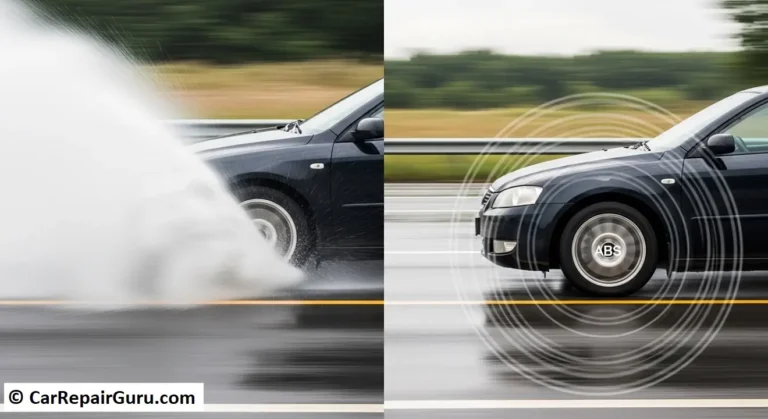
This one is obvious, but often ignored. The ABS (Anti-lock Braking System) light or the red BRAKE! light indicates that the car’s onboard computer has detected a problem. Don’t just hope it goes away—get it checked. If you aren’t sure what the symbol means, take a moment to understand your dashboard warning lights.
6. A Burning Smell After Driving
A sharp, chemical odor after repeated hard braking can be a sign of an overheating clutch or brakes. If you smell this under normal driving conditions, it might point to a dragging caliper that isn’t releasing the pad from the rotor.
7. Visible Fluid Leaks
Brake fluid is clear to yellowish-brown and has a slightly oily feel. If you see a small puddle of it near a wheel, it’s a critical sign of a leak in a brake line or caliper. A loss of fluid means a loss of stopping power.
Pro Tips – How to Make Your Brakes Last Longer
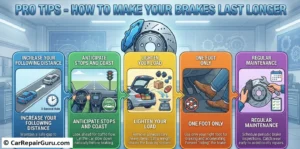
Want to save money and extend the life of your brake pads and rotors? You have more control than you think. Aggressive driving habits are the number one killer of brake components. Here’s how to make them last longer:
- Increase Your Following Distance: This is the golden rule. Leaving more space between you and the car ahead gives you more time to react, allowing you to slow down gently instead of slamming on the brakes.
- Anticipate Stops and Coast: Look ahead. See a red light a block away? Take your foot off the gas and let the car’s natural engine braking and momentum slow you down. This simple act of coasting significantly reduces wear.
- Lighten Your Load: The heavier your car is, the harder your brakes have to work to stop it. If you’re carrying around unnecessary heavy items in your trunk, take them out.
- One Foot Only: Never drive with one foot on the gas and the other resting on the brake pedal. This is called “riding the brakes,” and it generates constant heat and friction, wearing out your pads and rotors at an astonishing rate.
The Essential Brake Maintenance Checklist
Staying on top of your brakes doesn’t have to be complicated. Follow this simple schedule to catch problems before they start.
Every Month – The 60-Second Visual Check
- Check Your Brake Fluid: Pop the hood and locate the brake fluid reservoir (it’s usually a small, semi-transparent container on the driver’s side). The fluid should be between the “MIN” and “MAX” lines. If it’s low, it could indicate a leak. Also, note the color. Fresh fluid is nearly clear; old, contaminated fluid will be dark brown or black.
Every 6 Months (or with Every Oil Change)
- Visually Inspect Brake Pad Thickness: You don’t always have to take the wheel off. With your car parked, use a flashlight and look through the spokes of your wheel. You’ll see the brake pad pressed against the metal rotor by the caliper. As a rule of thumb, if the friction material is less than a quarter-inch (about 3-4 millimeters) thick, it’s time to start planning for a replacement.
- Look at Your Rotors: The surface of the rotors should be smooth and shiny. Deep grooves or scoring are signs that they need attention.
Every 2 Years
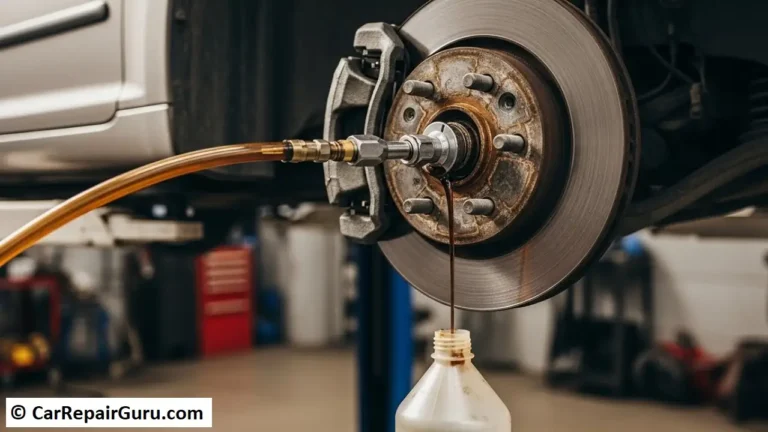
- Schedule a Brake Fluid Change: Brake fluid is hygroscopic, meaning it absorbs moisture from the air over time. This moisture lowers the fluid’s boiling point and can cause corrosion inside the system. A complete brake fluid flush every two years is one of the best preventative maintenance steps you can take.
DIY Brake Maintenance – What You Can (and Can’t) Do
Feeling hands-on? There are a few simple tasks you can safely perform at home.
How to Check and Top-Off Your Brake Fluid
- Locate the Reservoir: Find the master cylinder reservoir under the hood.
- Clean the Cap: Wipe the cap and surrounding area with a clean cloth before opening it to prevent dirt from falling in.
- Check the Level: Ensure the fluid is between the MIN/MAX lines.
- Add Fluid if Needed: If it’s low, carefully add the correct type of brake fluid specified in your owner’s manual (e.g., DOT 3, DOT 4). Do not overfill.
Safety Note: If your fluid is very low, it’s a strong indicator of a leak or worn pads. Don’t just top it off and forget it—find the root cause.
When to Call a Professional Mechanic
For most people, DIY brake maintenance should stop at inspections. Your brake system is not the place to learn through trial and error. Call a professional for:
- Replacing brake pads and rotors.
- Bleeding the brake lines (removing air bubbles).
- Fixing a “stuck” or dragging caliper.
- Diagnosing ABS or other dashboard warning lights.
Choosing the Right Brake Components for Your Car
When it is time for a replacement, you’ll be faced with choices. Understanding the basics will help you have an intelligent conversation with your mechanic.
Brake Pad Materials Explained – Ceramic vs. Semi-Metallic
- Semi-Metallic Pads: Made of a mix of metals, these pads offer excellent performance and are great at dissipating heat. They are a good choice for heavier vehicles or aggressive driving but can be a bit noisier and produce more dust.
- Ceramic Pads: This is the premium, all-around choice for most daily drivers. Ceramic brake pads are known for being extremely quiet, producing very little dust, and offering a long service life.
Brake Rotors – Blank vs. Drilled & Slotted
- Blank Rotors: These are the smooth-faced, standard rotors that come on 99% of cars from the factory. They are reliable, durable, and perfect for everyday driving.
- Drilled & Slotted Rotors: These high-performance rotors have holes or slots cut into the surface to help vent heat and gas. For a regular commuter car, they are typically overkill and can sometimes be more prone to cracking.
Don’t Wait for a Warning – Make Brake Maintenance a Priority
Your brake system doesn’t ask for much—just a little attention now and then. By understanding how it works, listening for warning signs, and following a simple checklist, you can ensure your car’s most important safety system is always ready to perform.
Don’t put it off. A small investment in maintenance today can prevent a catastrophic failure—and a massive repair bill—tomorrow.
Feeling unsure about the state of your brakes? The safest bet is always to schedule a professional brake inspection today.
Your Brake Maintenance Questions, Answered
How long do brake pads last?
It varies wildly, from 25,000 to 70,000 miles. Driving habits are the biggest factor, followed by the type of pad material and whether you do more city (stop-and-go) or highway driving.
What is the average cost of a brake job?
A simple front brake pad replacement can cost between $150 and $300. If you need new pads and rotors, the cost can range from $400 to $700 per axle.
Should I resurface or replace my brake rotors?
Resurfacing (or “turning”) a rotor involves shaving off a thin layer of metal to make it smooth again. While this was once common, modern rotors are thinner and lighter, making replacement the safer and often more cost-effective option.
What’s the difference between DOT 3 and DOT 4 brake fluid?
The main difference is the boiling point, with DOT 4 having a higher one. They are both glycol-based, but you should only use the type recommended in your owner’s manual. Never mix them with DOT 5, which is silicone-based.