Is there anything more frustrating than turning the key to silence or seeing your dashboard lights flicker mysteriously? These common annoyances often point directly to your car electrical wiring. But before you assume a costly repair bill, take a breath. Many car electrical problems are surprisingly straightforward, and you have the power to fix them right in your own garage.
This guide will walk you through the essential steps of electrical troubleshooting, from checking a simple fuse to hunting down a bad ground wire. Let’s demystify your car’s wiring and get you back on the road, safely and confidently.
- How Your Car’s Electrical System Works
- Key Components of Your Car Electrical Wiring
- Essential Tools for Electrical Troubleshooting
- Diagnosing & Fixing the Top 4 Common Car Electrical Wiring Problems
- Problem #1 – Blown Fuses (Symptom – A single component like the radio or interior lights suddenly stops working)
- Problem #2 – Bad Ground Connection (Symptoms – Flickering lights, multiple unrelated electrical issues at once)
- Problem #3 – Corroded Battery Terminals or Parasitic Drain (Symptom – Car is slow to crank or the battery is dead)
- Problem #4 – Frayed or Broken Wires (Symptom – Intermittent failures, especially after engine work)
- Preventative Maintenance to Avoid Future Electrical Issues
- Safety First – Working on Car Electrical Wiring
- When to Call a Professional Auto Electrician
- You’ve Got the Power
- Frequently Asked Questions (FAQ)
- How much does it cost to fix car electrical wiring?
- Can a bad wire drain my car battery?
- What’s the difference between a short circuit and an open circuit?
- Is it safe to drive with an electrical problem?
- What does a multimeter do for car electrical work?
How Your Car’s Electrical System Works
Before you can fix car wiring, it helps to understand what you’re looking at. Think of your car’s electrical system like your body’s nervous system. A central brain (the ECU) sends signals through a complex network of nerves (wires) to make everything from your headlights to your radio function correctly. It’s a closed-loop system, meaning electricity flows from a power source, through a component, and back to the source. It might seem complex, but it’s built on a few key players.
Key Components of Your Car Electrical Wiring
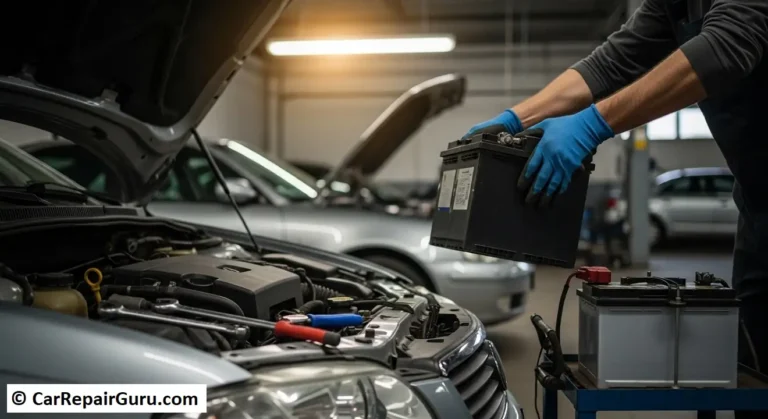
- The Battery: This is the heart of the system when the car is off. It provides the initial jolt of power to start the engine and runs accessories like the interior lights and radio.
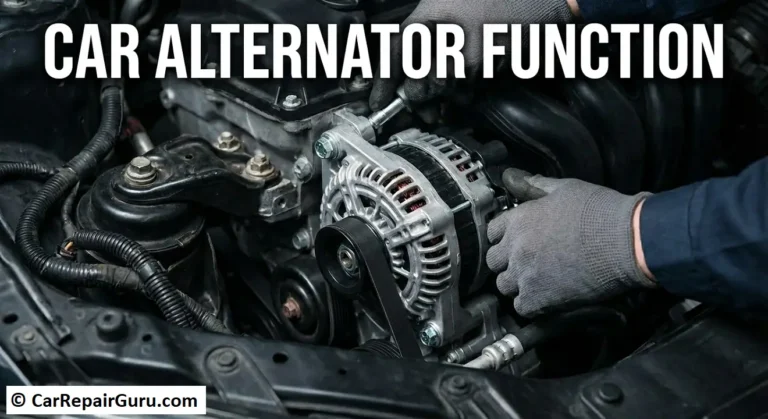
- The Alternator: Once the engine is running, the alternator takes over. It’s a mini-generator that powers all the electronics and, crucially, recharges the battery for your next start-up. A problem here can mimic a battery issue.
- Fuses & Relays: These are the system’s bodyguards. A fuse is a small, sacrificial piece of wire designed to break if too much electrical current flows through it, protecting expensive components from damage. Relays are switches that use a small current to control a larger one, like turning on your cooling fan.
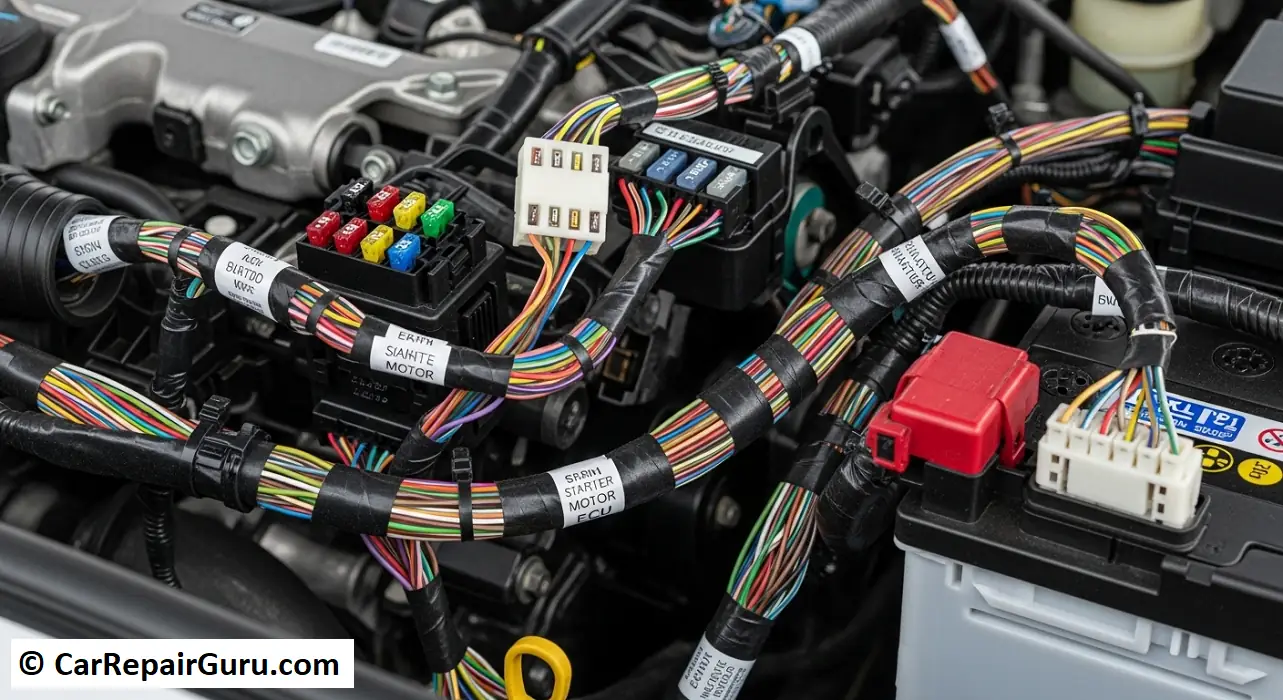
- The Wiring Harness: This is the “nervous system” itself. It’s a bundled group of color-coded wires that snakes throughout your vehicle, connecting every electrical component. Damage to this harness is a common source of problems.
- Ground Wires: Perhaps the most overlooked yet critical component. For any circuit to work, electricity needs a return path to the battery. In a car, the metal frame (chassis) acts as this path. A bad ground wire—the connection from a component or the battery to the chassis—is a top cause of bizarre electrical issues.
Essential Tools for Electrical Troubleshooting
You don’t need a professional toolbox, but a few key items are non-negotiable for tackling car electrical wiring issues.
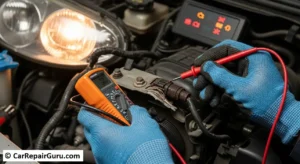
- Digital Multimeter: This is your number one diagnostic tool. It’s like a doctor’s stethoscope for electricity, allowing you to safely measure voltage (power), resistance (flow blockage), and continuity (a complete path). Don’t be intimidated; we’ll show you how to use its basic functions.
- Test Light: A simpler, faster way to check if a circuit has power. It lights up when connected to a live wire and a good ground.
- Fuse Puller: A small plastic tool, often found in your car’s fuse box, for safely removing fuses without breaking them.
- Basic Wrench/Socket Set: Essential for disconnecting the battery and cleaning ground connections.
- Wire Strippers, Crimpers, & Connectors: Needed if you have to repair a broken wire.
- Electrical Tape & Heat Shrink Tubing: For insulating and weather-proofing any repairs you make.
- Safety Glasses & Gloves: Safety is paramount. Always protect yourself.
Diagnosing & Fixing the Top 4 Common Car Electrical Wiring Problems
Let’s get to the practical fixes. Most electrical gremlins fall into one of these four categories. Always start with the simplest solution first.
Problem #1 – Blown Fuses (Symptom – A single component like the radio or interior lights suddenly stops working)
This is the most common and easiest car electrical problem to fix. A fuse is designed to be the weak link, so always check it first.
- Step 1: Locate Your Fuse Boxes. Most modern cars have at least two: one in the engine bay (for components like headlights and the horn) and one inside the cabin (usually on the driver’s side dashboard or in the glove box) for interior electronics. Your owner’s manual is your best friend here.
- Step 2: Identify the Blown Fuse. The inside of the fuse box cover has a diagram showing what each fuse protects. Find the one for the component that isn’t working. Using a fuse puller, gently remove it. Hold it up to the light. A good fuse has a solid, S-shaped wire inside. A blown fuse car problem is obvious—the wire will be broken or look burnt.
- Step 3: Safely Replace the Blown Fuse. This is critical: Only replace the fuse with one of the exact same amperage rating. The number is printed on top of the fuse (e.g., 10, 15, 20). Using a higher-rated fuse can cause a fire. Push the new fuse firmly into the slot.
Pro-Tip: If the new fuse blows immediately after you turn the component on, you have a short circuit. This means a power wire is touching a ground source somewhere, and you’ll need to do more electrical troubleshooting.
Problem #2 – Bad Ground Connection (Symptoms – Flickering lights, multiple unrelated electrical issues at once)
A bad ground wire is the trickster of the electrical world. Because it affects the return path for electricity, it can cause a wide range of bizarre symptoms that seem unrelated. Lights might dim when you hit the brakes, or your radio might cut out when you use your turn signal.
- Step 1: Understand the Ground. A ground wire is simply a connection from the electrical system to the metal frame of the car. The most important one is the main battery ground strap, a thick black cable that runs from the negative (-) battery terminal to the car’s chassis or engine block.
- Step 2: Find and Inspect the Main Grounds. Pop the hood and locate the negative battery terminal. Follow the thick black cable from it. Where it bolts to the metal frame is your primary ground point. Inspect it closely. Are the bolt and cable end covered in rust, grease, or white/green corrosion? Is the bolt loose? Check other smaller ground wires you see bolted to the frame.
- Step 3: How to Clean and Secure a Ground Connection.
-
- Safety First: Disconnect the negative battery terminal completely.
- Use a wrench or socket to unbolt the ground wire from the chassis.
- Use a wire brush or sandpaper to clean the cable end, the bolt, and the contact point on the car’s frame until you see shiny, bare metal.
- Re-bolt the connection securely. It should be snug and have no wiggle room. Reconnect your battery and test. This simple cleaning fixes a surprising number of issues.
Problem #3 – Corroded Battery Terminals or Parasitic Drain (Symptom – Car is slow to crank or the battery is dead)
If your car struggles to start, the problem is often right at the battery itself. Before blaming the battery, check its connections.
Part A: Inspecting & Cleaning Battery Terminals.
Look at the lead posts on top of your battery. Do you see a crusty, white, or blue-green powder? That’s corrosion, and it’s a major barrier to electrical flow. To clean it, first disconnect the negative terminal, then the positive. Use a mixture of baking soda and water and a stiff brush to scrub the terminals and cable clamps clean. Rinse with a little clean water, dry thoroughly, and reconnect the positive terminal first, then the negative.
Part B: How to Test for a Parasitic Battery Drain.
If your battery keeps dying even with clean terminals, something might be drawing power when the car is off. This is called a parasitic battery drain. Finding it requires a multimeter.
- Make sure the car is off, all doors are closed, and the key is out of the ignition.
- Set your multimeter to the DC Amps (A) setting, usually 10A.
- Disconnect the negative battery cable.
- Connect one multimeter probe to the negative battery post and the other probe to the disconnected negative cable clamp. The multimeter is now completing the circuit.
- Wait a few minutes for the car’s computers to go to sleep. A normal reading is very low, typically under 50 milliamps (0.05A). If you see a reading of 0.5A or higher, you have a significant drain. To find the source, have a helper pull fuses one by one until the Amp reading on your multimeter drops. The last fuse pulled is the problem circuit.
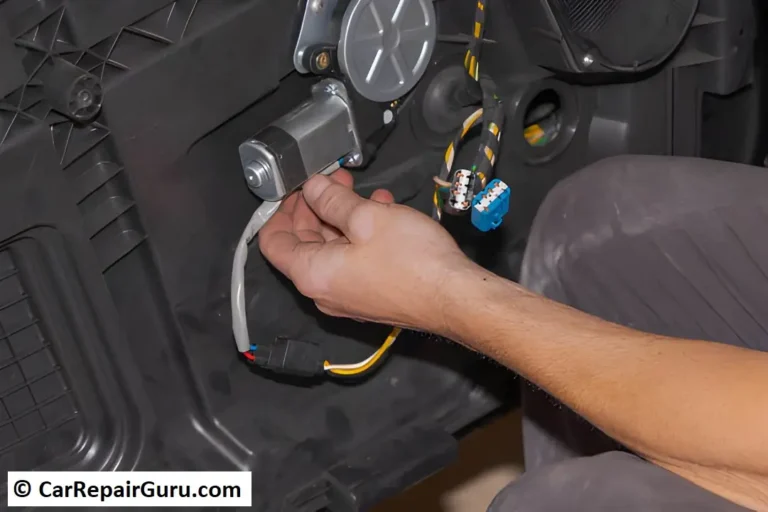
Problem #4 – Frayed or Broken Wires (Symptom – Intermittent failures, especially after engine work)
Vibration, heat, and age can cause a wire’s insulation to rub through or the wire to break entirely. This is common in a wiring harness repair scenario.
- Step 1: Visually Inspect the Wiring Harness. Look in high-stress areas: around the hot engine block, near moving suspension parts, and in the flexible boot that runs between the car door and the frame. Do you see any wires with cracked, melted, or missing insulation? Any signs of rodents chewing?
- Step 2: How to Repair a Single Broken Wire. If you find a simple break, you can fix it.
- Disconnect the battery.
- Use wire strippers to remove about a half-inch of insulation from both ends of the broken wire.
- Twist the bare ends together and, for the best connection, solder them.
- If you can’t solder, use a butt connector and crimp it tightly onto both ends.
- Slide a piece of heat shrink tubing over the repair and use a heat gun or lighter (carefully!) to shrink it down, creating a durable, weather-proof seal. Electrical tape is a temporary fix at best.
Preventative Maintenance to Avoid Future Electrical Issues
An ounce of prevention is worth a pound of cure, especially with car electrical wiring.
- Regular Battery and Terminal Checks: Once a month, just pop the hood and look at your battery terminals. If you see any corrosion starting, clean it off before it becomes a problem.
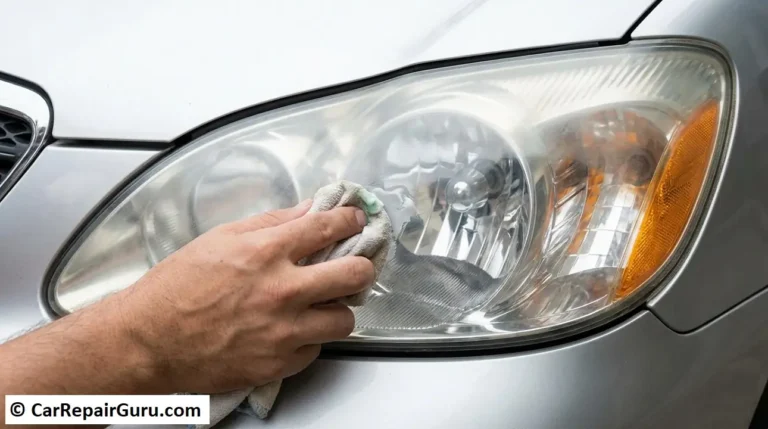
- Keep Your Engine Bay Clean: A clean engine bay isn’t just for show. It makes it easier to spot frayed wires, fluid leaks that can damage insulation, and other potential issues early on.
- Secure Loose Wires: While you’re under the hood, if you see any part of a wiring harness that has come loose from its factory clips, use a plastic zip tie to secure it. This prevents it from rubbing against hot or moving parts, which is a primary cause of wire damage.
Safety First – Working on Car Electrical Wiring
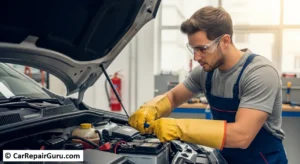
Read this section twice. Your safety is non-negotiable. While a 12-volt system isn’t typically a shock hazard, it can create enough current to cause severe burns or start a fire.
- ALWAYS Disconnect the Negative Battery Terminal before starting any work. This is the golden rule. It breaks the circuit and prevents accidental shorts.
- Wear Safety Glasses and Insulated Gloves. Protect your eyes from sparks and your hands from sharp engine bay components.
- Never Work Near Fuel Leaks. Electricity and fuel are a dangerous combination. Address any fuel leaks before tackling electrical work.
- Never Replace a Fuse with a Higher-Rated One. This defeats the purpose of the fuse and can lead to melting wires or a fire.
- If You Are Not 100% Confident, Stop. There is no shame in calling a professional. A mistake can be costly or dangerous.
When to Call a Professional Auto Electrician
While DIY is empowering, some battles are best left to a trained auto electrician. Know your limits. Call a pro if you encounter:
- Problems with the ECU, BCM, or other computer modules. These are the brains of the car and require specialized diagnostic tools.
- Airbag (SRS) or ABS warning lights are on. These are critical safety systems. Do not attempt to repair them yourself.
- You suspect a short circuit but cannot find it. A professional has advanced tools to trace wires through the entire car.
- You smell burning plastic or see smoke. This is an emergency. Stop immediately and have the vehicle inspected.
- Any issue you don’t feel comfortable or safe tackling.
You’ve Got the Power
Navigating your car electrical wiring doesn’t have to be a nightmare. By starting with the simplest, most common culprits—fuses, battery terminals, and ground connections—you can solve a huge percentage of problems yourself. Investing in a simple multimeter unlocks a new level of diagnostic power, transforming guesswork into a clear, data-driven process. Remember to always prioritize safety, work methodically, and don’t be afraid to tackle these issues. You have the knowledge and the power to silence those electrical gremlins for good.
Frequently Asked Questions (FAQ)
How much does it cost to fix car electrical wiring?
The cost varies dramatically. A simple fix, like replacing a blown fuse, will cost you less than a dollar. Cleaning a ground connection is free if you have the tools. However, diagnosing and performing a wiring harness repair at a professional shop can cost several hundred dollars or more, depending on the labor involved.
Can a bad wire drain my car battery?
Yes, absolutely. A wire that has rubbed through its insulation and is touching the car’s metal frame creates a “short to ground.” This provides an unintended path for electricity to flow, causing a constant parasitic battery drain that can kill your battery overnight.
What’s the difference between a short circuit and an open circuit?
Think of a light switch. An “open circuit” is like the switch being off—the power can’t complete its path, so the component doesn’t work. A broken wire is an open circuit. A “short circuit” is a dangerous shortcut where power bypasses the component and goes directly to ground, causing a massive current flow that blows a fuse or, worse, melts the wire.
Is it safe to drive with an electrical problem?
It depends entirely on the problem. A faulty radio or a burnt-out dome light is an annoyance. But flickering headlights, a stalling engine, or a battery light on the dash are all signs of a serious issue that affects the car’s safety and reliability. These should be inspected immediately.
What does a multimeter do for car electrical work?
A multimeter is your most powerful diagnostic tool. It allows you to be a detective by measuring three key things: Voltage (to see if power is getting to a component), Resistance (to check if a wire or component is bad), and Continuity (to confirm a wire isn’t broken). It’s essential for any electrical troubleshooting beyond a visual inspection.