If you’ve ever turned the key in the ignition only to be greeted by a disheartening, single click—or perhaps nothing at all—you’ve likely experienced the failure of your car’s starter motor. This small but mighty component is responsible for turning the engine over, bringing your vehicle to life.
While the thought of engine work might send shivers down your spine, a starter motor replacement is one of the more manageable mechanical jobs a seasoned DIY enthusiast can tackle.
This comprehensive guide will walk you through the diagnosis, preparation, and detailed steps for replacing your starter, giving you the confidence to get your vehicle reliably back on the road.
- Diagnosing the Problem – Is It Definitely the Starter?
- Signs of a Bad Starter Motor
- Rule Out Other Common Issues First
- Preparation and Safety
- Essential Tools and Safety Precautions
- Step-by-Step Starter Motor Replacement Procedure
- Locate and Access the Starter
- Removal Process
- Installation Process
- Final Checks and Troubleshooting
- Troubleshooting Common Issues
- Cost Analysis – DIY vs. Professional
- Starter Motor Replacement Cost – Breakdown
- Labor Costs
- Understanding Starter Failure – Causes and Lifespan
- Understanding Starter Failure – Causes and Lifespan
- Beyond the Starter – Maintaining the Electrical Starting System
- Beyond the Starter – Maintaining the Electrical Starting System
- Final Thoughts
- Frequently Asked Questions
- How long does starter motor replacement typically take?
- Can I safely drive my car if the starter motor is failing?
- Is a clicking noise always a symptom of a bad starter?
- Should I buy a new or remanufactured starter motor?
- Why would my brand new starter motor fail quickly after installation?
Diagnosing the Problem – Is It Definitely the Starter?
Before you rush out and buy a new part, it is crucial to confirm that the starter motor is the true culprit. Many electrical issues mimic starter motor symptoms, and the last thing you want is to replace a functional component.
Signs of a Bad Starter Motor
If your car won’t start, listen closely to the sounds it does make:
1. The Single, Loud Click
This is the classic symptom of a failed starter motor solenoid. When you turn the key, the solenoid attempts to push the starter gear into the flywheel and send high-amperage current to the motor, but the internal circuit fails, resulting only in the sound of the solenoid engaging.
2. Slow, Sluggish Crank
Your engine turns over, but it sounds weak, slow, and labored. While this is often mistaken for a weak battery, a failing starter motor may draw excessive amperage as it struggles to spin, mimicking battery drain.
3. Grinding Noise
If the starter motor engages but produces a terrible grinding noise, it usually means the pinion gear is not properly meshing with the engine’s flywheel or flexplate. Continued use can cause significant damage to the flywheel teeth, escalating the repair cost.
4. Smoke or Burning Smell
A distinct smell of burnt plastic or burning oil after attempting to start the car indicates a severe electrical short or mechanical bind within the starter, causing the windings to overheat.
Rule Out Other Common Issues First
If you plan on a DIY starter motor replacement, perform these simple checks first:
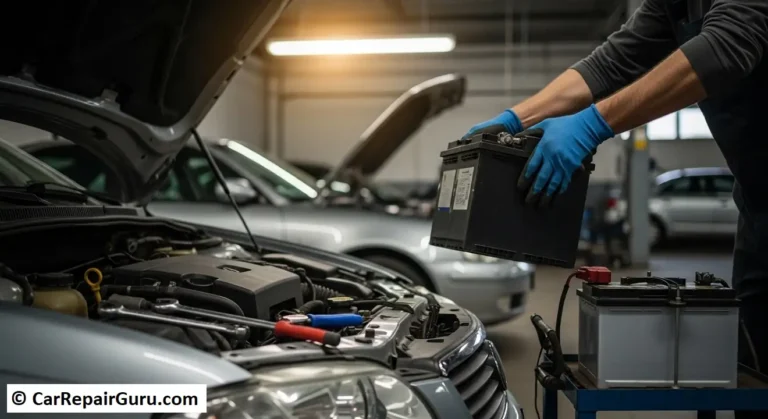
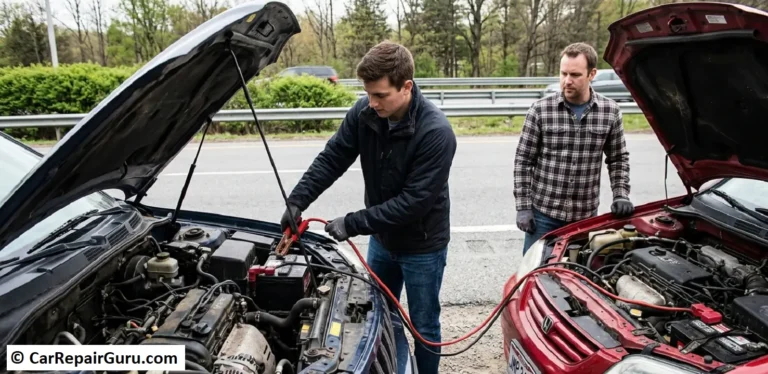
- Check the Battery: A dead or weak battery is the most common cause of a no-start condition. Test the voltage (should be above 12.6V) and ensure the terminals are clean and tightly connected. Corrosion at the battery terminals severely restricts the current needed by the starter.
- Ignition Switch: If the dashboard lights, radio, and accessories fail to come on when the key is turned, the problem might be the ignition switch, not the starter itself.
- Neutral Safety Switch: On automatic transmissions, the vehicle will only start in Park or Neutral. If this switch fails (or if the car is accidentally left in gear), the circuit to the starter motor is blocked. On manual vehicles, ensure the clutch pedal switch is depressed fully.
Preparation and Safety
Safety is paramount when working with high-amperage electrical components. Skip the safety steps, and you risk fire, serious injury, or major electrical damage to your vehicle.
Essential Tools and Safety Precautions
Non-Negotiable Safety Steps
- Disconnect the Battery: This is the most critical step. Use a wrench to loosen the negative (-) terminal first, remove the cable, and secure it away from the battery post. This prevents accidental contact, sparks, and dangerous electrical shorts while you are working directly on the starter’s power cable.
- Use Proper Vehicle Support: If you need to access the starter from underneath, use a quality jack to raise the vehicle, and always use two sturdy jack stands placed on the frame rails. Never rely solely on the jack.
- Allow Components to Cool: Starters are often located close to exhaust manifolds. Ensure the engine has been off long enough for all components to be cool to the touch.
Required Tools and Supplies
- Socket set (1/4” and 3/8” drive, typically metric, though some older vehicles use SAE).
- Deep sockets and various extensions (access is often tricky).
- Box-end wrenches.
- Pliers (for hose clamps or small wires).
- Wire brush and terminal cleaner.
- Penetrating oil (WD-40 or similar) for rusted mounting bolts.
- Torque Wrench: Essential for reinstallation to ensure bolts are tightened precisely to manufacturer specifications.
Parts Sourcing – New vs. Remanufactured Starter
When shopping for the replacement part, you generally have three choices:
- New OEM (Original Equipment Manufacturer): Highest cost, guaranteed fit and quality.
- New Aftermarket: Mid-range cost. Quality can vary greatly; research the brand.
- Remanufactured Starter: Lowest cost, often perfectly adequate. These are original cores rebuilt with new brushes, solenoids, and bushings. This is a great cost-saving option for older vehicles.
Pro Tip: Before ordering, check the old starter’s mounting pattern and wiring terminals against the new one. Ensure they match your engine code and transmission type.
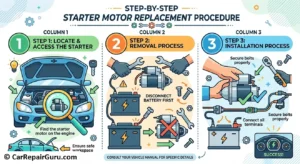
Step-by-Step Starter Motor Replacement Procedure
The complexity of the DIY starter motor replacement depends heavily on your vehicle. Starters in rear-wheel-drive (RWD) vehicles are typically easier to reach, while those in front-wheel-drive (FWD) vehicles often require removing air intake boxes, battery trays, or sometimes even part of the exhaust system.
Locate and Access the Starter
The starter motor is mounted to the transmission bell housing, where the engine and transmission meet.
- Identify Location: Determine if the starter is accessible from above (engine bay) or below (under the car).
- Clear Obstructions: Carefully remove any components blocking access. This may include heat shields (always re-install these to prevent heat damage), air ducts, or the battery tray assembly.
- Clean Access Point: If the area is covered in oil and grime, a quick spray of engine degreaser can help identify the bolt heads and keep dirt from falling into electrical connections.
Removal Process
- Disconnect Wiring (Double-Check Battery Disconnection!):
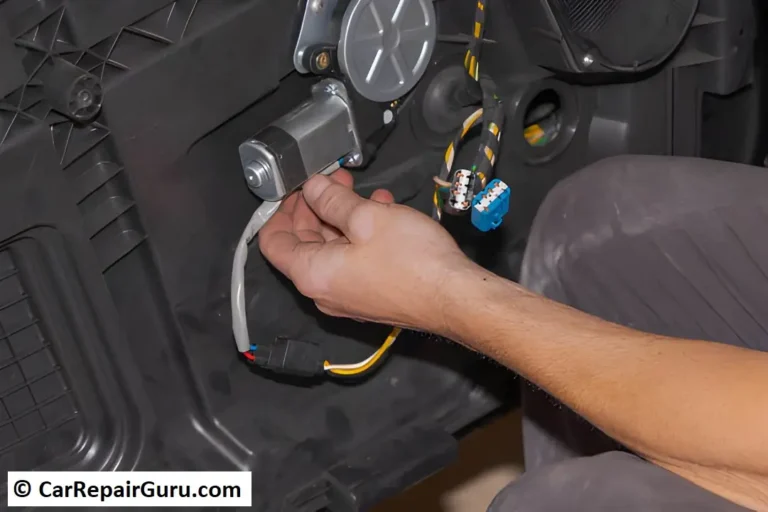
- The Solenoid Signal Wire: This is the small wire or quick-disconnect plug that sends the “start” signal from the ignition switch. Carefully unplug or remove the retention nut and detach this wire.
- The Battery Cable: This is the large, thick cable (often red) connected by a sizable nut. This cable runs directly from the battery and carries immense current. Remove the nut and carefully tuck the cable out of the way.
- Remove Mounting Bolts: Using your socket set and extensions, locate and remove the main mounting bolts that secure the starter to the transmission. Be aware that these bolts are often extremely long and may be tight due to heat cycling and rust. Use penetrating oil if necessary.
- Extraction: Carefully maneuver the old starter out of its recess. Due to its weight and size, this can sometimes be the trickiest part. You may need to tilt it, spin it, or push other components slightly to gain clearance.
Installation Process
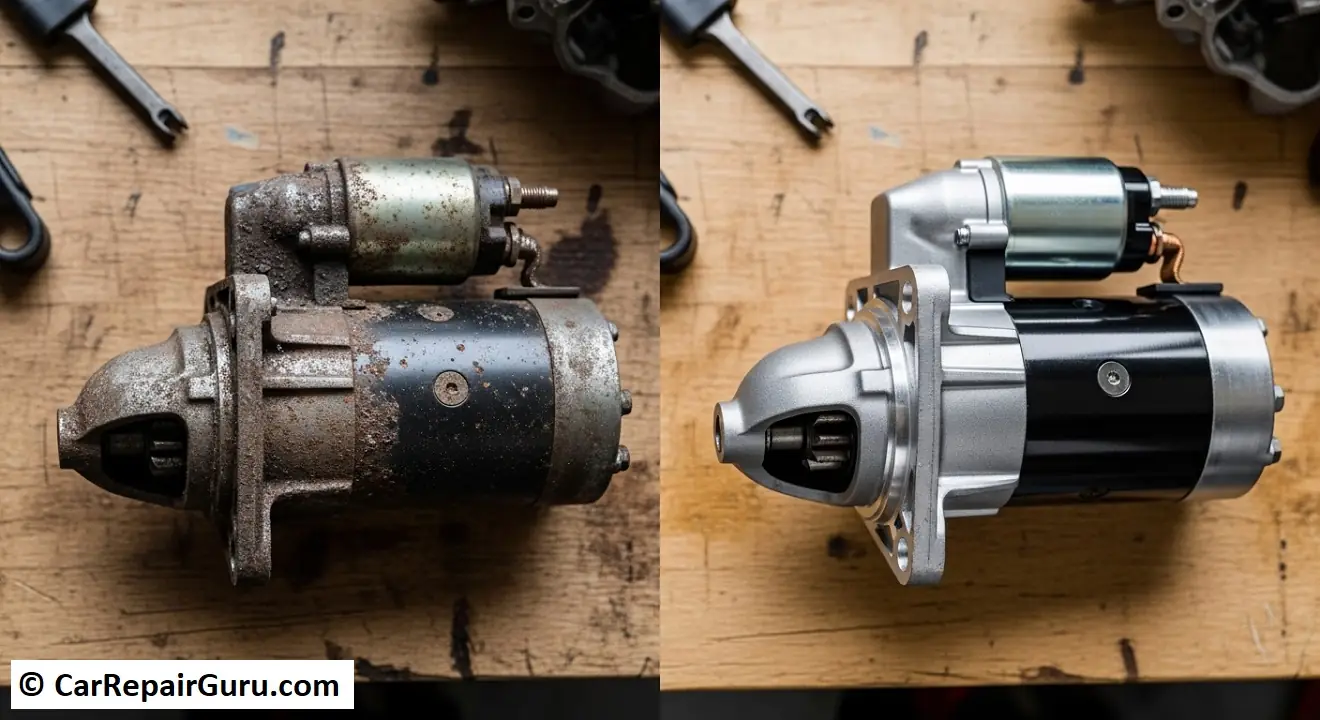
- Compare Units: Place the old and new starter side-by-side to ensure they are identical in size, bolt hole pattern, and terminal configuration.
- Position the New Starter: Slide the new unit into the mounting location. This often requires the same tilting and maneuvering you did during removal.
- Secure the Bolts: Reinstall the main mounting bolts by hand first. Crucially, use your torque wrench to tighten these bolts to the manufacturer’s specified torque specs. Under-torquing can lead to misalignment and premature gear failure; over-torquing can strip the transmission housing threads.
- Reconnect Wiring:
- Start by connecting the heavy-gauge battery cable (power). Ensure the nut is very tight to prevent excessive resistance and heat buildup.
- Reconnect the small solenoid wire or plug.
- Reassemble Obstacles: Replace any heat shields, airboxes, or brackets that were removed for access.
Final Checks and Troubleshooting
After the starter motor replacement is complete, it’s time for the moment of truth.
- Reconnect the Battery: Attach the positive (+) terminal first, and then attach the negative (-) terminal last. Ensure both connections are clean and secure.
- The Test Crank: Get in the car and turn the key. If you hear a strong, smooth crank and the engine starts, congratulations—you have successfully completed the job!
Troubleshooting Common Issues
| Symptom | Probable Cause | Solution |
|---|---|---|
| Still just a single click. | Poor connection on the main battery cable at the starter or battery terminal. | Disconnect battery and tighten the large power cable nut on the starter terminal. Check battery cables for corrosion. |
| Starter spins but the engine does not turn over (whining noise). | Pinion gear is not engaging the flywheel teeth. | Check mounting bolt tightness. The starter might be misaligned, or the flywheel teeth may be damaged. |
| Grinding noise when starting. | Starter bolts are loose, or the replacement unit has a slightly different tolerance/gear depth. | Re-torque the mounting bolts. If the noise persists, the starter may need to be warrantied, or the flywheel may need inspection. |
| No noise, no lights. | Battery is dead or fuse is blown. | Check the battery and main starter fuse or relay (usually located in the fuse box under the hood). |
Cost Analysis – DIY vs. Professional
Understanding the cost to replace starter motor is often the deciding factor in whether to tackle this job yourself or hire a professional mechanic.
Starter Motor Replacement Cost – Breakdown
The price of the starter motor itself can vary wildly depending on the vehicle’s make and model (e.g., a starter for a small 4-cylinder sedan is far cheaper than one for a large diesel truck).
| Component | Cost Range (Part Only) |
|---|---|
| Remanufactured Starter | $80 – $250 |
| New Aftermarket Starter | $150 – $350 |
| New OEM Starter | $300 – $650+ |
Labor Costs
The total cost from a professional includes the part plus labor. Mechanics typically charge based on the estimated time for the repair, which can range from 1.5 hours for an easy RWD access job to 4+ hours for complex FWD/V6/V8 vehicles where significant components must be removed.
| Service | Estimated Total Cost (Part + Labor) |
|---|---|
| DIY Replacement | $80 – $650 (Part cost only) |
| Professional Replacement | $350 – $850+ |
When to Hire a Mechanic: If your starter is located in a high-difficulty area (such as under the intake manifold or requiring the exhaust to be partially dropped), the time and specialized tools required might outweigh the cost savings of a DIY attempt.
Understanding Starter Failure – Causes and Lifespan

A well-maintained starter motor is built to last, often surviving 100,000 to 150,000 miles, or about 8 to 10 years, under normal conditions. However, several factors can drastically shorten this lifespan. Understanding why a starter fails can help prevent premature issues with your newly installed unit.
Understanding Starter Failure – Causes and Lifespan
1. The Role of Heat Soak
Starters frequently fail due to heat soak, especially in engines where the starter is located directly beneath or near the exhaust manifold. When the engine is hot and then immediately turned off, residual heat (soak) transfers into the metal body of the starter. This extreme heat can damage the solenoid’s windings or cause internal components to expand, leading to binding and premature wear.
2. Worn Brushes and Commutator
The starter motor operates using electric brushes (similar to an alternator). Over time, these brushes wear down from constant contact, reducing the electrical current flow. This leads to the sluggish crank mentioned earlier, eventually causing complete failure.
3. Repeated Attempted Cranks
If your engine fails to start due to a fuel or spark issue, repeatedly turning the key puts incredible strain on the starter. Each attempt draws massive current (hundreds of amps) and generates substantial heat. Limit attempts to short bursts (5-10 seconds) separated by a minute or two of rest to prevent overheating and burnout of the starter windings.
4. Engine Flooding and Resistance
When an engine is flooded with fuel, the starter has to work harder to overcome the hydraulic resistance of the excess fluid in the cylinders. If you suspect flooding, follow your vehicle’s clear-out procedure (often flooring the accelerator while cranking) to ease the starter’s burden.
Beyond the Starter – Maintaining the Electrical Starting System
A starter motor replacement is only half the battle. Because the starter relies entirely on the vehicle’s 12-volt electrical starting system to function, neglecting other components will inevitably lead to repeated problems. Think of the starter as the appliance, and the battery and cables as the power source—if the power source is weak, the appliance won’t work correctly.
Beyond the Starter – Maintaining the Electrical Starting System
Cable Integrity and Resistance Checks
The power cables running from the battery to the starter (and the ground cables running from the battery to the chassis/engine block) are just as critical as the starter itself.
- Corrosion: Internally corroded cables create high resistance, which reduces the voltage available to the starter. This resistance translates directly into heat and a weak crank.
- Insulation: Inspect cable insulation for cracks or breaks that could lead to shorts against the engine block or chassis.
The Critical Grounding Path
The circuit for the starter is only complete if it has a solid ground. There are typically large ground straps or cables connecting the engine block directly to the chassis and the battery’s negative terminal.
- Check Ground Points: Ensure all ground straps are clean, tight, and free of paint or rust. A poor ground forces the starter to seek alternate, inefficient paths for current return, leading to performance issues that mimic a bad starter motor.
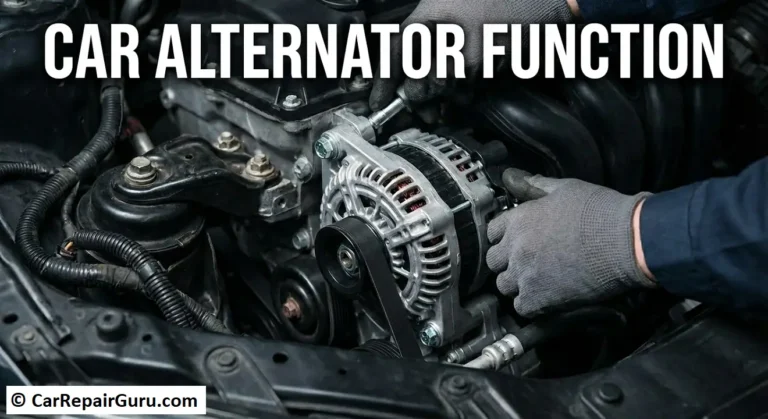
The Role of the Alternator
While the alternator doesn’t start the car, it charges the battery. If the alternator is failing, the battery will constantly operate at a low state of charge. When the battery is weak, the starter draws more amps than usual, leading to excessive heat and accelerated component wear. Always confirm your charging voltage (around 13.5V to 14.5V) is correct after starting the vehicle.
Final Thoughts
Successfully completing a starter motor replacement job can save you hundreds of dollars in labor fees and gives you valuable confidence in your mechanical abilities. By prioritizing safety, confirming your diagnosis, and following the proper steps for access and re-torquing, you ensure a successful repair that should last for years to come.
Enjoy the satisfying sound of a strong, reliable engine crank! If you tackled this DIY starter motor replacement, share your vehicle type and any unique challenges you faced in the comments below!
Frequently Asked Questions
How long does starter motor replacement typically take?
For professionals, labor usually ranges from 1.5 to 3.5 hours, depending on vehicle accessibility (RWD is faster, FWD can be complex). A DIY replacement often takes a few hours, allowing extra time for diagnosis and dealing with seized bolts.
Can I safely drive my car if the starter motor is failing?
No, if the starter fails, the car won’t start once the engine is shut off, leaving you stranded. While you can sometimes push-start a manual transmission vehicle, attempting to drive with a known failing unit is highly unreliable and unsafe.
Is a clicking noise always a symptom of a bad starter?
A single, loud click is often the starter solenoid failing to engage the motor windings. However, a rapid clicking sound typically indicates a severely discharged or dead battery that lacks the necessary power to turn the engine over.
Should I buy a new or remanufactured starter motor?
Remanufactured units are generally cheaper and perfectly adequate for older vehicles, having been rebuilt with new internal components. New units offer the highest reliability and are often preferred for newer vehicles or high-mileage drivers seeking maximum peace of mind.
Why would my brand new starter motor fail quickly after installation?
Premature failure often stems from underlying electrical issues, such as corroded battery cables creating high resistance, causing the new starter to overheat. Improper shimming or inadequate bolt torquing during installation can also lead to misalignment and internal damage.