There it is. The dreaded dark spot on your otherwise clean driveway. Your heart sinks a little as you realize your car is leaking oil. It’s a moment every car owner fears, one that conjures images of smoke, strange noises, and expensive repair bills.
But take a deep breath. While an engine oil leak should never be ignored, it’s not always a catastrophe. In fact, many common leaks are surprisingly manageable for a weekend warrior with a basic set of tools and a little patience.
This guide is here to empower you. We’ll walk you through everything you need to know about fixing an engine oil leak, from playing detective to find its source to getting your hands dirty with the repair. You’ll learn which jobs you can tackle yourself and when it’s time to call in a professional.
- First Things First – Why You Can’t Ignore an Engine Oil Leak
- Step 1 – Diagnosing the Drip – Finding the Source of the Leak
- Confirm It’s Engine Oil
- The “Clean and Observe” Method (The Best First Step)
- For Stubborn Leaks – Using an Oil Leak Detector Dye Kit
- Step 2 – Identifying the Culprit – The Most Common Oil Leaks
- Oil Filter or Drain Plug
- Valve Cover Gasket
- Oil Pan Gasket
- Camshaft or Crankshaft Seals
- Step 3 – The Repair – How to Fix a Common Oil Leak
- When to Put Down the Wrench – Signs You Need a Professional Mechanic
- How to Prevent Future Oil Leaks
- Wrapping Up
- Frequently Asked Questions
- How much does it cost to fix an engine oil leak?
- Is it safe to drive with an oil leak?
- Will tightening bolts stop an oil leak?
- How long does it take to fix an oil leak?
First Things First – Why You Can’t Ignore an Engine Oil Leak
It might be tempting to just top off the oil every week and hope for the best, but that’s a risky gamble. An active oil leak is more than just a messy inconvenience; it’s a warning sign from your engine. Here’s why you need to address it promptly:
- Catastrophic Engine Damage: Oil is the lifeblood of your engine. It lubricates moving parts, reduces friction, and helps dissipate heat. When the oil level gets too low, friction and heat skyrocket, leading to premature wear and potentially seizing the engine—a repair that can cost thousands.
- Serious Safety Hazard: Leaking oil doesn’t just drip onto the ground. It can drip onto scorching-hot components like the exhaust manifold. Hot oil is flammable, and this creates a very real fire risk under your hood.
- Environmental Harm: That oil stain on your driveway gets washed into storm drains by rain, eventually polluting local waterways and harming wildlife. Doing your part to fix leaks is good for the planet.
- A Small Fix Now Prevents a Huge Bill Later: A $20 valve cover gasket that you replace yourself can prevent a $5,000 engine replacement down the road. The math is simple.
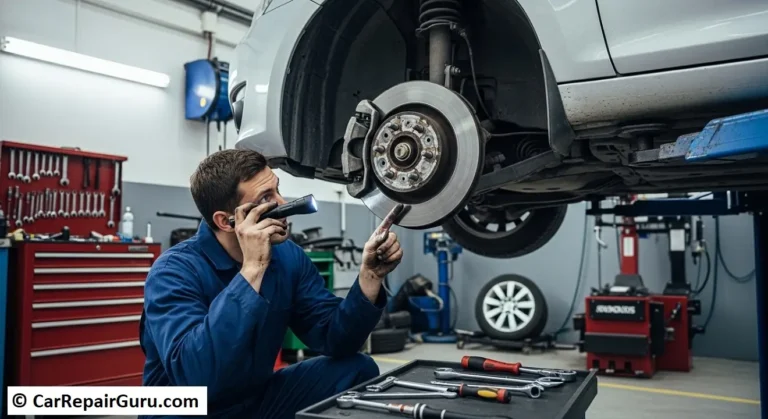
Step 1 – Diagnosing the Drip – Finding the Source of the Leak
Before you can fix anything, you have to become a detective. Your first mission is to pinpoint exactly where the oil is coming from. Rushing this step is the number one mistake people make.
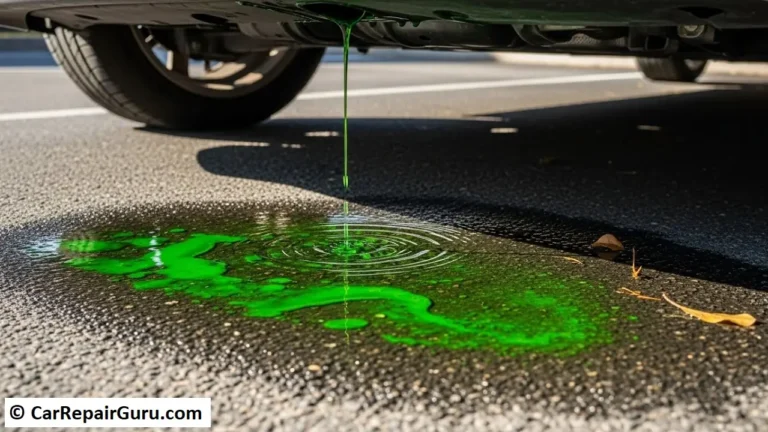
Confirm It’s Engine Oil
Not every puddle under your car is engine oil. Take a clean paper towel and dip it in the fluid. Check its color and feel:
- Engine Oil: Typically amber when new, turning dark brown or black as it ages. It will feel very slippery and slick.
- Coolant (Antifreeze): Often bright green, pink, or orange. It has a slightly sticky, sweet smell.
- Transmission Fluid: Usually reddish in color and has a distinct petroleum smell.
- Brake Fluid: Clear to yellowish-brown and has a very slick feel, similar to oil, but will be found near the wheels.
The “Clean and Observe” Method (The Best First Step)
This is the most reliable way to find the source of an oil leak. Gravity is your best friend here—oil flows downwards, so the highest point of fresh oil is almost always the source.
- Prep the Area: Park your car on a level surface. Slide a large, clean piece of cardboard under the engine. This will act as your “drip canvas.”
- Clean the Engine: This step is non-negotiable. Grab a can of engine degreaser and some old rags. With the engine cool, spray the degreaser liberally on all the oily, grimy areas of the engine block. Let it sit for the recommended time, then wipe everything down thoroughly. You want a clean slate.
- Run the Engine: Start the car and let it run for 15-20 minutes, or take it for a short drive. This gets the oil hot and circulating under pressure, which will force it out of the leak point.
- Inspect Your Work: Park the car in the same spot over the cardboard. Turn off the engine and, using a flashlight, carefully inspect the now-clean engine. Look for fresh, wet trails of oil. Trace that trail upwards to its highest point—that’s your culprit.
For Stubborn Leaks – Using an Oil Leak Detector Dye Kit
If the leak is slow or hard to spot, a UV dye kit is a fantastic tool. You simply add a small bottle of fluorescent dye to your engine oil, drive the car as usual, and then inspect the engine in the dark with the included UV flashlight. The leak will glow a bright, unmistakable yellow-green, leading you directly to the source.
Step 2 – Identifying the Culprit – The Most Common Oil Leaks
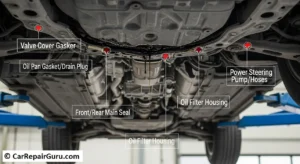
Once you’ve found the general area of the leak, you can identify the specific part that has failed. Here are the most common sources, from easiest to hardest to fix.
Oil Filter or Drain Plug
- Location: At the very bottom of the engine. The drain plug is a single bolt on the oil pan, and the oil filter is a metal cylinder screwed into the engine block or oil filter housing.
- Symptoms: A slow drip directly from the filter or plug, often noticed right after an oil change.
- DIY Difficulty: Easy
- The Fix: The drain plug might just need to be snugged up, or more likely, its small metal or rubber washer needs to be replaced. For the filter, it may not have been tightened enough (or was overtightened, damaging the gasket).
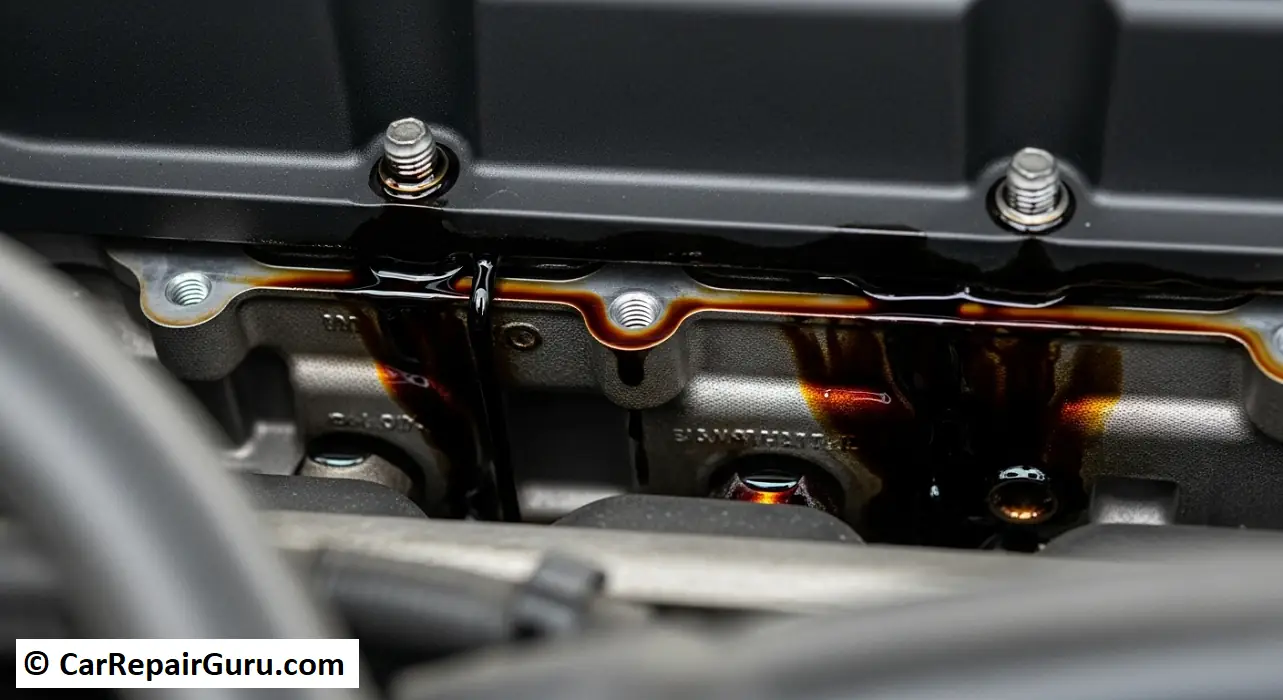
Valve Cover Gasket
- Location: The very top of the engine, sealing the “valve cover” to the cylinder head.
- Symptoms: This is one of the most common leaks. You’ll see oil seeping from the top of the engine and running down the sides. You may also smell burning oil as it drips onto the hot exhaust manifold below.
- DIY Difficulty: Easy to Moderate
- The Fix: This involves removing the cover, cleaning the surfaces, and installing a new gasket. It’s an excellent first-time DIY engine repair.
Oil Pan Gasket
- Location: At the bottom of the engine, forming a seal between the engine block and the oil pan (the reservoir that holds the oil).
- Symptoms: A consistent, widespread leak around the entire seam of the oil pan.
- DIY Difficulty: Moderate
- The Fix: This repair requires draining the oil, unbolting and removing the entire oil pan, replacing the gasket, and reinstalling it. It can be complicated if a frame crossmember or exhaust pipe is blocking access to the pan.
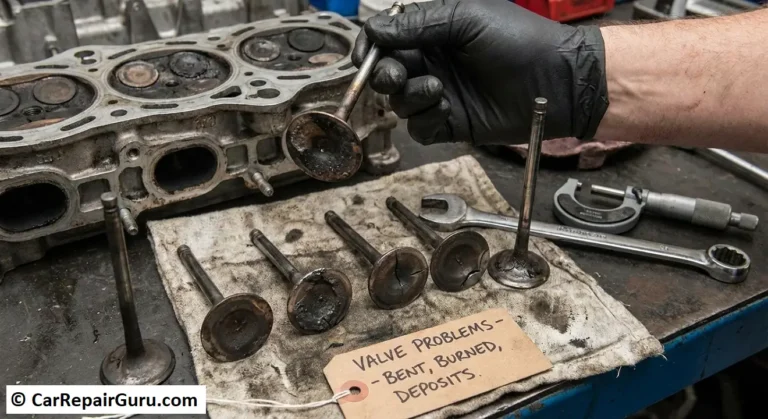
Camshaft or Crankshaft Seals
- Location: Usually at the front of the engine, behind the main crank pulley and timing belt/chain cover.
- Symptoms: Oil leaking from the front of the engine and being slung around the engine bay by the spinning belts and pulleys, creating a huge mess.
- DIY Difficulty: Advanced / Pro-Level
- The Fix: These seals are cheap, but getting to them is labor-intensive. It often requires removing the timing belt or chain, which is a complex job where a small mistake can destroy the engine.
Rear Main Seal
- Location: At the very back of the engine, between the engine block and the transmission.
- Symptoms: A significant oil leak that drips from the small gap or “weep hole” where the engine and transmission meet.
- DIY Difficulty: Pro-Level
- The Fix: This is the big one. To replace this $20 seal, the entire transmission must be removed from the car. This is a job best left to a professional mechanic.
Step 3 – The Repair – How to Fix a Common Oil Leak
Ready to get your hands dirty? We’ll walk you through replacing a valve cover gasket, one of the most common and achievable DIY oil leak repairs. The principles here apply to many other gasket jobs as well.
Safety First & Essential Tools
Before you start, make sure you’re working safely. Never work under a car supported only by a jack; always use sturdy jack stands. Let the engine cool completely.
Your Toolkit:
- Jack and jack stands (if needed for access)
- Socket set and ratchet
- Torque wrench (This is crucial!)
- Clean rags and engine degreaser
- Oil drain pan
- Plastic gasket scraper (do not use metal)
- The correct new valve cover gasket for your car
- A small tube of RTV sealant/gasket maker (check your car’s manual for the right type)
Step-by-Step Guide – Replacing a Valve Cover Gasket
1. Disconnect the Battery: Always disconnect the negative battery terminal as a safety precaution before starting any engine work.
2. Clear the Area: Remove anything blocking your access to the valve cover. This might include plastic engine covers, ignition coils, spark plug wires, and vacuum hoses. Take pictures with your phone as you go so you remember where everything goes.
3. Unbolt the Cover: Using your socket wrench, loosen the bolts holding the valve cover in place. It’s best to loosen them in a crisscross or star pattern, working from the outside in, to prevent warping the cover.
4. Remove the Old Gasket: Gently lift the valve cover off. It might be stuck on, so a light tap with a rubber mallet can help. Peel off the old, hardened gasket from the cover or the engine head.
5. Clean Mating Surfaces (The Most Important Step!): This step determines success or failure. Use your plastic scraper and rags soaked in degreaser to meticulously clean every bit of old gasket material and oil residue from both the channel on the valve cover and the flat surface on the engine head. The surfaces must be perfectly clean and dry for the new gasket to seal.
6. Install the New Gasket: Apply a small dab of RTV sealant to any sharp corners or seams on the engine head, as specified by your vehicle’s service manual. Carefully press the new gasket into the groove on the valve cover.
7. Reinstall the Cover: Gently place the cover back onto the engine, making sure the gasket stays perfectly in place. Hand-tighten the bolts to get them started.
8. Torque to Spec: This is critical. Use your torque wrench to tighten the bolts to the manufacturer’s exact specification (you can find this online or in a repair manual). Tighten them in the specified sequence (usually a star pattern). Do not over-tighten! Over-tightening will crack the cover or crush the new gasket, causing an even worse leak.
9. Reassemble and Check: Reconnect all the components you removed earlier. Reconnect the battery. Start the engine and let it run for several minutes while you carefully inspect your work for any new leaks.
A Note on Oil Stop Leak Additives
You’ve seen them on the shelf: bottles promising to magically fix your oil leak. These products contain chemicals that cause rubber seals to swell, which can temporarily slow or stop a leak from a dried-out seal. However, they are a temporary bandage, not a permanent cure. They cannot fix a torn gasket or a cracked part. Use them only as a last-resort measure to get you to a repair shop, not as a long-term solution.
When to Put Down the Wrench – Signs You Need a Professional Mechanic
DIY repair is rewarding, but it’s crucial to know your limits. You build trust with your car—and your wallet—by knowing when to call for backup. It’s time to call a pro if:
- The leak is the Rear Main Seal or a Crankshaft/Camshaft Seal. The labor involved is extensive and requires specialized knowledge.
- You lack the essential tools, especially a torque wrench, or a safe, level place to work.
- You simply don’t have the time or confidence to complete the job properly. A botched repair is worse than no repair.
- You suspect the leak is from a cracked engine block or cylinder head, which is a very serious and complex issue.
How to Prevent Future Oil Leaks
An ounce of prevention is worth a pound of cure (and a clean driveway).
- Use High-Quality Oil: Use the oil viscosity recommended in your owner’s manual.
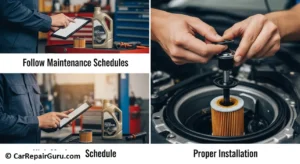
- Follow Maintenance Schedules: Regular oil changes with a new, high-quality filter are key.
- Proper Installation: During oil changes, always use a new drain plug washer and don’t over-tighten the filter or plug.
- Address Seeps Early: If you notice a small, damp area of oil, don’t wait for it to become a drip. Investigate it early.
Wrapping Up
Fixing an engine oil leak is a journey that begins with good detective work. By carefully diagnosing the source, you can determine if it’s a simple fix like a loose drain plug or a more involved job like a valve cover gasket replacement. While some leaks are best left to the pros, many are well within reach for a determined DIYer.
Tackling that leak not only saves you money and protects your engine but also gives you a deeper connection to and understanding of your vehicle. Now grab your tools, put on some old clothes, and get that driveway clean!
Frequently Asked Questions
How much does it cost to fix an engine oil leak?
The cost varies dramatically depending on the source. A DIY drain plug washer fix costs less than $5. A DIY valve cover gasket might run you $30-$80 in parts. Having a shop do that same job could be $200-$400. A complex repair like a rear main seal can easily cost $800-$1,500+, as most of the cost is labor.
Is it safe to drive with an oil leak?
It depends on the severity. For a very minor seep (an area that’s damp but not dripping), you can likely drive safely but you must check your oil level religiously (at least weekly). For any leak that leaves a puddle or actively drips, it is not safe. You risk running the engine low on oil or starting a fire. Get it repaired immediately.
Will tightening bolts stop an oil leak?
Sometimes, if the bolts have simply vibrated loose. However, this is rare. Gaskets are designed to be crushed to a specific torque setting once. Over-tightening the bolts is a common mistake that can warp or crack the component (like the valve cover or oil pan), making the leak much worse. Always use a torque wrench and follow manufacturer specs.
How long does it take to fix an oil leak?
A drain plug or oil filter fix takes just a few minutes during an oil change. A straightforward valve cover gasket replacement can take a patient DIYer 1-3 hours. An oil pan gasket might take 3-5 hours, depending on obstructions. A rear main seal is a full-day job, even for a professional mechanic.