Is your car’s A/C smelling a bit funky? Is the airflow from your vents feeling more like a weak whisper than a powerful gust, even with the fan on full blast? Before you start worrying about expensive repairs, the culprit might be a surprisingly simple and cheap component: your car’s cabin air filter.
This unsung hero of your vehicle’s interior is your first line of defense against airborne nasties. Replacing it is one of the easiest and most satisfying DIY car maintenance tasks you can do.
This guide will walk you through everything—from spotting the warning signs to performing the replacement yourself in under 15 minutes. Let’s get you breathing easier and saving money.
- What is a Cabin Air Filter and Why is it Important?
- 5 Telltale Signs You Need to Replace Your Cabin Air Filter
- When to Replace Your Cabin Air Filter (The General Rule)
- DIY vs. Professional Replacement – A Quick Cost Breakdown
- Choosing the Right Cabin Air Filter – A Buyer’s Guide
- Standard Particulate Filters
- Activated Carbon / Charcoal Filters
- HEPA-Style & Antimicrobial Filters
- How to Replace Your Cabin Air Filter – A Step-by-Step Guide
- Before You Begin – Tools and Parts
- Step 1 – Locate the Cabin Air Filter Housing
- Step 2 – Access the Filter (Glove Box Method)
- Step 3 – Remove the Old Filter
- Step 4 – Clean the Housing
- Step 5 – Insert the New Filter & Reassemble
- Troubleshooting Common Problems After Changing Your Filter
- Problem – The New Filter Doesn’t Seem to Fit.
- Problem – Airflow is Still Weak or I Hear a Whistling Noise.
- Problem – There’s Still a Musty Smell.
- Breathe Fresh and Drive Happy
- Frequently Asked Questions
- I just clean and reuse my cabin air filter?
- Is a cabin air filter the same as an engine air filter?
- What happens if you don’t change your cabin air filter?
- Does a charcoal cabin air filter make a difference?
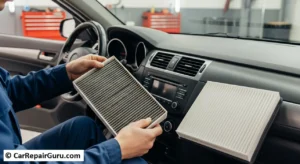
What is a Cabin Air Filter and Why is it Important?
Think of the cabin air filter as the furnace filter for your car. It’s a small, pleated filter, typically made of paper and synthetic materials, that cleans the air that flows into your car’s interior through the heating, ventilation, and air conditioning (HVAC) system. Its job might sound simple, but it’s crucial for both your health and your vehicle’s longevity.
Here’s exactly what a clean cabin air filter does for you:
- Filters Pollutants: It traps dust, pollen, soot, and other allergens, preventing them from being blown directly into your face while you drive.
- Blocks Debris: It stops leaves, insects, and other small debris from clogging up your sensitive and expensive HVAC components like the evaporator core and blower motor fan.
- Improves Air Quality: By filtering out airborne contaminants and mold spores, it keeps the air inside your car fresh and helps reduce musty odors.
- Protects Your Health: For people with allergies, asthma, or other respiratory sensitivities, a clean filter can make a world of difference in driving comfort.
5 Telltale Signs You Need to Replace Your Cabin Air Filter
Your car has a way of telling you when things aren’t right. When it comes to a clogged cabin air filter, the symptoms are hard to ignore once you know what to look for. Here are the five most common signs that it’s time for a change.
1. A Musty or Unpleasant Odor from the Vents
This is the most classic symptom. As the filter traps moisture, dirt, and organic material, it becomes a breeding ground for mold and mildew. When you turn on your A/C or heat, the air blows past this moldy mess, carrying a foul, musty smell directly into the cabin. If you get a whiff of “old socks” when you start your car, a dirty filter is the likely cause.
2. Significantly Reduced Airflow
Do you have your fan cranked to the max, but the air is barely trickling out of the vents? A clogged cabin air filter is like trying to breathe through a thick blanket. It physically obstructs the air, forcing your blower motor to work much harder for less output. Restoring that powerful airflow is often as simple as swapping out the old filter.
3. Increased Allergy Symptoms or Dust Inside the Car
If you find yourself sneezing more often in your car or notice a fine layer of dust accumulating on your dashboard shortly after cleaning, your filter has likely lost its effectiveness. It’s no longer trapping those fine particles, allowing pollen and dust to circulate freely throughout the cabin.
4. Unusual Whistling or Straining Noises from the Fan
The extra strain placed on your HVAC blower motor by a clogged filter can cause it to make unusual noises. You might hear a high-pitched whistle or a straining sound as the motor struggles to pull air through the blockage. Ignoring this can lead to premature failure of the blower motor—a much more expensive repair than a simple filter replacement.
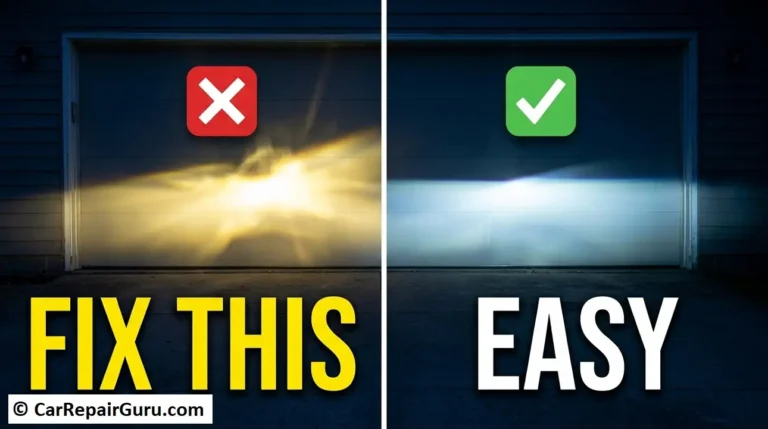
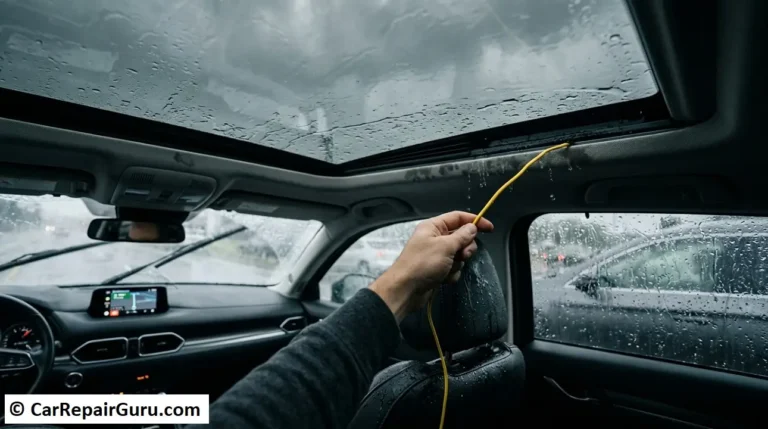
5. Windows That Take Forever to Defog
Your defog/defrost setting relies on strong, consistent airflow to clear condensation from your windows. If the filter is blocked, the weak airflow can’t do its job effectively, leaving you with foggy windows that compromise visibility and safety, especially in damp or cold weather.
When to Replace Your Cabin Air Filter (The General Rule)
So, how often should you be proactive about this? The general rule of thumb for cabin air filter replacement is every 15,000 to 25,000 kilometers, or roughly once a year.
However, this is just a guideline. The single best source of information is your vehicle’s owner’s manual, which will provide the manufacturer’s specific recommendation.
You should also consider changing it more frequently if you:
- Drive in areas with high pollution or heavy construction.
- Frequently drive on dirt or gravel roads.
- Live in a region with high pollen counts.
- Regularly park your car under trees, which drop leaves, seeds, and sap.
DIY vs. Professional Replacement – A Quick Cost Breakdown
One of the best parts about this job is how much money you can save by doing it yourself. A mechanic or dealership will often charge a surprisingly high fee for what is a 15-minute task. Here’s a quick look at the numbers:
| Feature | DIY Replacement | Professional Service (Dealer/Mechanic) |
|---|---|---|
| Part Cost | $15 – $50 | Included in total price |
| Labor Cost | $0 | $40 – $100+ |
| Total Cost | $15 – $50 | $60 – $150+ |
| Time | 10-20 minutes | 30-60 minutes (including wait time) |
| Difficulty | Easy to Moderate | N/A |
As you can see, the savings are significant. The cabin air filter replacement cost drops dramatically when you take labor out of the equation.
Choosing the Right Cabin Air Filter – A Buyer’s Guide
Before you can replace the filter, you need to buy the right one. Not all filters are created equal, and the best choice depends on your needs and budget. Here’s a breakdown of the common types.
Standard Particulate Filters
This is your basic, entry-level filter, likely what your car came with from the factory. It’s typically made of pleated paper and is designed to do one job well: stop larger particles.
- What they are: Economical filters that trap dust, pollen, and large debris.
- Who should buy: The budget-conscious driver who lives in an area with average air quality and doesn’t have specific sensitivities to odors or allergens.
Activated Carbon / Charcoal Filters
This is the most popular upgrade and offers the best bang for your buck. These filters have a layer of activated carbon infused into the filter media, which works wonders on smells.
- What they are: A particulate filter with an added layer of carbon to adsorb odors and gasses.
- Who should buy: Nearly everyone. A charcoal cabin air filter is a fantastic choice for city drivers dealing with exhaust fumes, pet owners, or anyone who wants to eliminate outside smells from their cabin.
HEPA-Style & Antimicrobial Filters
This is the premium option for those who want the absolute cleanest air possible. HEPA (High-Efficiency Particulate Air) filters are rated to trap 99.97% of particles down to 0.3 microns.
- What they are: High-grade filters that capture microscopic dust, allergens, bacteria, and mold spores. Many also have an antimicrobial coating to prevent mold growth directly on the filter.
- Who should buy: Drivers with severe allergies, asthma, or a compromised immune system. If maximum air purity is your goal, this is the filter for you.
How to Replace Your Cabin Air Filter – A Step-by-Step Guide
Ready to get your hands dirty? Don’t worry, it’s easier than you think. Let’s change your cabin air filter.
Before You Begin – Tools and Parts
First, gather what you need. In most cases, you won’t even need tools.
- New Cabin Air Filter: The most important part! Make sure it’s the correct one for your car’s make, model, and year.
- Flashlight: To help you see under the dashboard.
- Small Vacuum or Cleaning Cloth: To clean out the filter housing.
- Gloves (Optional): The old filter will be disgusting.
- Screwdriver/Socket Set (Rarely Needed): A few car models may require a tool to remove a panel, but most are tool-free.
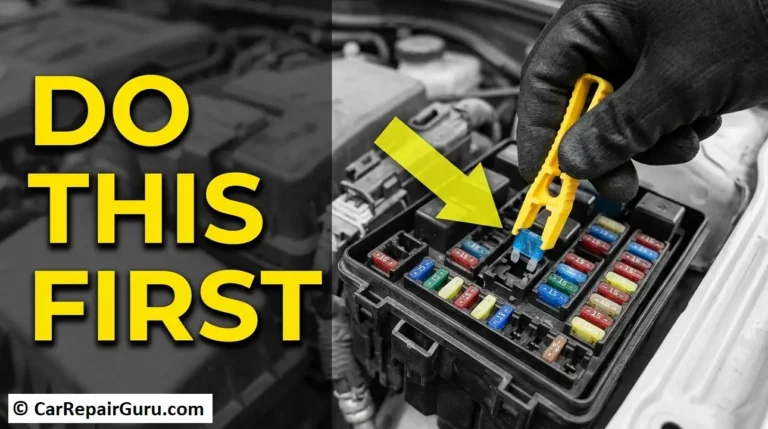
Step 1 – Locate the Cabin Air Filter Housing
The vast majority of cars have the cabin air filter location behind the glove box. This is the first place you should look. If it’s not there, other possible locations are under the dashboard on the passenger side or under the hood near the base of the windshield.
Pro Tip: A quick online search for “[Your Car Model and Year] cabin air filter location” will give you the exact spot in seconds.
Step 2 – Access the Filter (Glove Box Method)
Assuming it’s behind the glove box:
- Open the glove box and empty its contents.
- Look for a “dampener arm” on the right side. This little arm controls how softly the glove box opens. Simply unhook it from the side.
- Now, press in firmly on both sides of the glove box. This will release the stoppers and allow the entire glove box to swing down and out of the way, revealing the filter housing behind it.
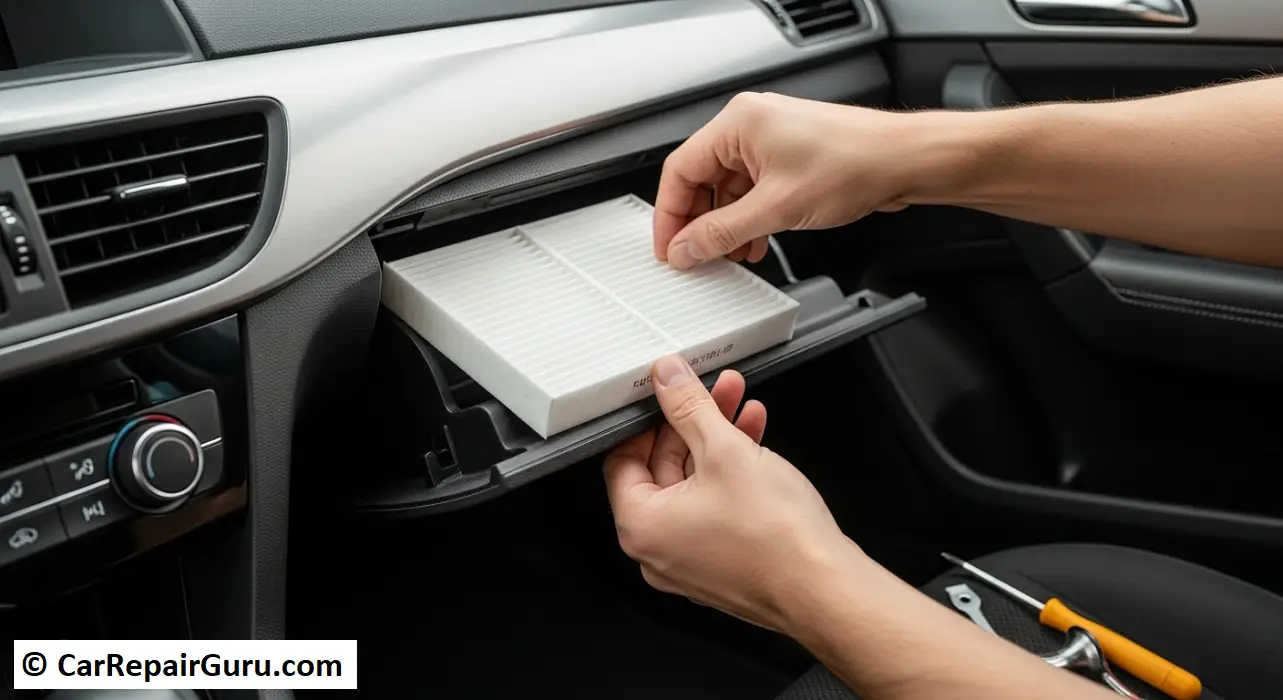
Step 3 – Remove the Old Filter
You should now see a rectangular plastic cover—this is the filter access door.
- Unclip or unsnap the cover. It usually has tabs on one or both sides that you can pinch to release it.
- Slide the old, dirty filter straight out of the housing.
- CRITICAL TIP: Look closely at the old filter. You will see an arrow printed on its edge indicating AIRFLOW direction. Make a mental note or take a picture of which way it’s pointing. The new filter must be installed with the arrow pointing the same way.
Step 4 – Clean the Housing
Before you put the new filter in, take a moment to clean. Use your vacuum’s hose attachment or a damp cloth to remove any leaves, dust bunnies, or other debris that has accumulated inside the filter housing. This prevents that gunk from getting sucked into your fan motor.
Step 5 – Insert the New Filter & Reassemble
It’s time for the final, satisfying step.
- Slide the brand-new filter into the housing, ensuring the AIRFLOW arrow is pointing in the correct direction (usually down).
- Snap the access door cover back into place.
- Swing the glove box back up, re-engage the stoppers by pressing the sides, and reattach the dampener arm.
- Close the glove box, and you’re done! Turn on your car’s fan and enjoy that fresh, clean, strong airflow.
Troubleshooting Common Problems After Changing Your Filter
Most of the time, the process is flawless. But if something feels off after your DIY replacement, here are the most common issues and how to fix them.
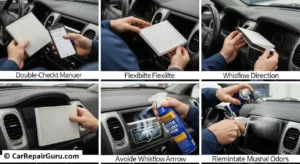
Problem – The New Filter Doesn’t Seem to Fit.
- Solution 1 (Check the Part): The number one reason for a poor fit is having the wrong part. Double-check the part number against your vehicle’s make, model, AND year. A filter for a 2020 Toyota Camry might not be the same as one for a 2021 model.
- Solution 2 (Flex the Filter): Some filters are designed to be flexible. You may need to gently squeeze the sides to slide it into the housing slot. Don’t force it, but don’t be afraid to give it a little persuasion.
Problem – Airflow is Still Weak or I Hear a Whistling Noise.
- Solution (Check the Arrow): This is almost always caused by installing the cabin filter installed backwards. The airflow arrow MUST point in the same direction as the vehicle’s airflow (again, usually down towards the floor). An inverted filter creates turbulence and resistance, causing noise and restricting airflow. Pull it out and flip it over.
Problem – There’s Still a Musty Smell.
- Solution (Clean the System): If your old filter was exceptionally moldy for a long time, the odor may have already seeped into the HVAC’s evaporator core. A new filter will help, but to fully eliminate the smell, you may need an A/C system cleaner. This is an aerosol spray that you inject into the system to kill any lingering mold and mildew.
Breathe Fresh and Drive Happy
Congratulations! You now know everything you need to about one of the most important but overlooked components in your vehicle. Replacing your cabin air filter is a fast, affordable, and incredibly effective way to improve your driving experience. It’s a simple DIY task that directly benefits your health, comfort, and your car’s HVAC system.
So next time your car smells a little off or the airflow seems weak, don’t hesitate. Grab a new filter, follow this guide, and in just a few minutes, you’ll be back on the road breathing fresh, clean air.
Frequently Asked Questions
I just clean and reuse my cabin air filter?
No. Cabin air filters are designed to be disposable. They trap microscopic particles deep within their fibers. Trying to clean a cabin air filter with a vacuum or compressed air will damage the delicate filter media and will not remove the deeply embedded grime and mold spores. Always replace it with a new one.
Is a cabin air filter the same as an engine air filter?
They are two completely different parts with different jobs. The engine air filter vs cabin filter distinction is simple: the cabin air filter cleans the air you breathe inside the car, while the engine air filter cleans the air the engine uses for combustion.
What happens if you don’t change your cabin air filter?
If you neglect it, you’ll experience poor interior air quality, persistent bad odors, and a significantly reduced airflow. More seriously, the strain on your HVAC blower motor can cause it to burn out, leading to a repair that can cost hundreds of dollars.
Does a charcoal cabin air filter make a difference?
Absolutely. A standard filter only traps particles. The activated carbon in a charcoal filter also adsorbs smelly gasses and chemical pollutants like exhaust fumes. It’s a highly recommended and noticeable upgrade for almost any driver.