Your car’s most important safety feature isn’t the airbag or the crumple zone—it’s the brakes. They are the only thing that gives you direct control over stopping your one-ton-plus vehicle, often at a moment’s notice. But how do you know if they’re working at 100%? You don’t have to wait for a scary moment in traffic to find out.
Most drivers get used to the gradual decline in their car’s stopping power, often not realizing there’s a problem until it’s serious. That’s why learning how to test your car brakes is one of the most empowering skills a driver can have.
In this guide, we’re pulling back the curtain on the brake performance testing procedure. We’ll walk you through a simple, safe, and effective DIY brake check that requires no special tools—just your eyes, your ears, and a feel for your vehicle. You’ll learn how to perform a visual inspection, conduct a road test, and, most importantly, understand what the results are telling you about your car’s health and your safety on the road.
- Why Testing Your Brakes is a Non-Negotiable Safety Check
- When Should You Test Your Braking Performance? (Checklist)
- The Safe & Simple DIY Brake Performance Test – A Step-by-Step Procedure
- Step 1 – The Pre-Test Visual Inspection (Static Check)
- Step 2 – The Low-Speed Pedal Feel Test (5-10 mph)
- Step 3 – The Moderate-Speed Straight-Line Test (30-40 mph)
- Step 4 – The Emergency Brake / Parking Brake Test
- How to Interpret the Results – A Common Problems Chart
- What Affects Braking Performance? Beyond the Brakes Themselves
- Don’t Guess, Test!
- Frequently Asked Questions (FAQ)
- What is a good braking distance for a car?
- How can I test my ABS brakes?
- Can I test brake performance myself?
- What’s the difference between a DIY and a professional brake test?
Why Testing Your Brakes is a Non-Negotiable Safety Check
Putting off a brake check can feel harmless, but it’s a gamble you should never take. Regularly testing your braking performance is about more than just ticking a box on a maintenance list; it’s a fundamental part of responsible car ownership.
- Your Personal Safety: First and foremost, effective brakes are the key to accident avoidance. A few extra feet of stopping distance can be the difference between a close call and a serious collision.
- Your Vehicle’s Health: Brakes are a system of interconnected parts. Catching worn-out brake pads early can prevent them from grinding into your rotors, turning a simple, affordable fix into a much more expensive repair involving multiple components.
- Your Peace of Mind: There’s a unique confidence that comes from knowing you can rely on your vehicle in an emergency. A quick, regular brake test eliminates that nagging “what if?” feeling, allowing you to drive with complete assurance in your car’s most critical safety system.
When Should You Test Your Braking Performance? (Checklist)
The best time to find a problem is before it finds you. Instead of waiting for a clear warning sign, be proactive. Here’s a simple checklist for when you should perform a brake performance test:
Routinely: Make it a habit to check your brakes every six months or alongside every oil change. This rhythm ensures you’ll catch gradual wear and tear.
After Any Brake Work: Just had new pads, rotors, or fluid installed? A post-service test is crucial to ensure everything was installed correctly and is “bedded in” properly.
Before a Long Road Trip: You’re about to put your car through its paces. A thorough brake check is a vital part of any pre-trip inspection to ensure your car is ready for the long haul.
Immediately If You Notice Symptoms
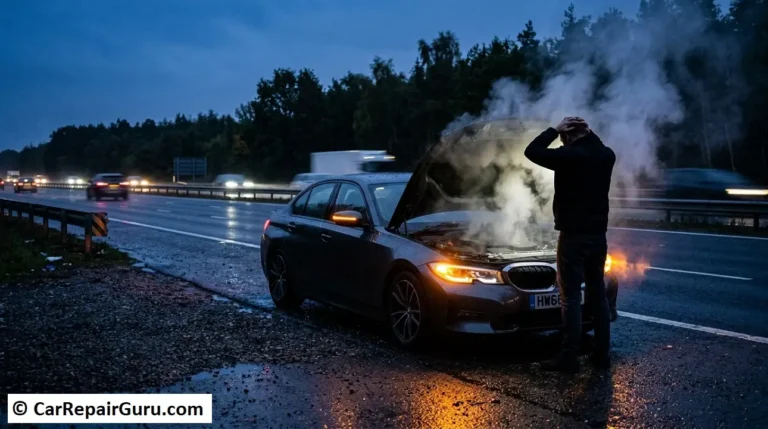
Your car is excellent at telling you when something is wrong. You just have to listen. Test your brakes immediately if you notice any of these common signs of bad brakes:
Audible Signs (What You Hear)
A high-pitched squealing or screeching noise is often the first indicator that your brake pads are worn down. If you hear a deep, metallic grinding noise, stop driving as soon as it is safe to do so. This means the pads are completely gone, and you have a dangerous metal-on-metal situation.
Physical Sensations (What You Feel)
Does your brake pedal feel spongy, soft, or sink slowly toward the floor? This often points to air or moisture in the brake lines. If your car pulls to one side when you brake, or if you feel a vibration or pulsation through the pedal or steering wheel, these are clear signals that something is wrong.
Visual Cues (What You See)
Modern cars make it easy. If your brake warning light or ABS light illuminates on your dashboard, it’s a direct command from your car’s computer to get the system checked.
The Safe & Simple DIY Brake Performance Test – A Step-by-Step Procedure
This is the core of the brake performance testing procedure. It’s designed to be done safely and give you clear, actionable feedback on your brake system’s health.
[IMPORTANT] Safety First!
Perform this entire test in a large, empty, and safe location like a vacant parking lot or an unused industrial road. Ensure there is no traffic, no pedestrians, and no obstacles. Drive slowly and be aware of your surroundings at all times.
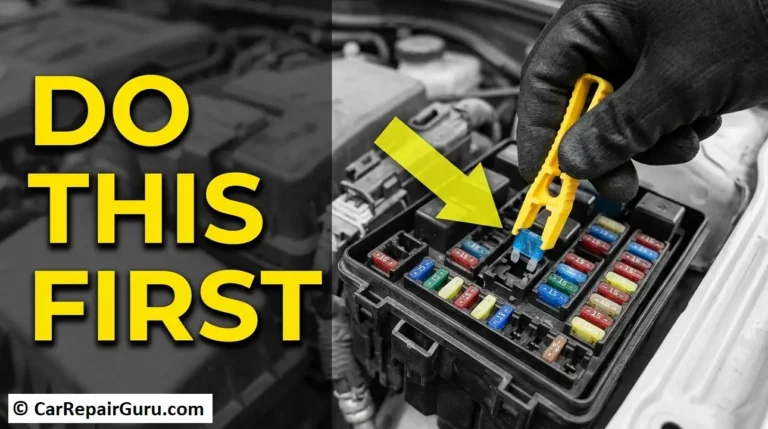
Step 1 – The Pre-Test Visual Inspection (Static Check)
Before you even turn the key, do a quick walk-around.
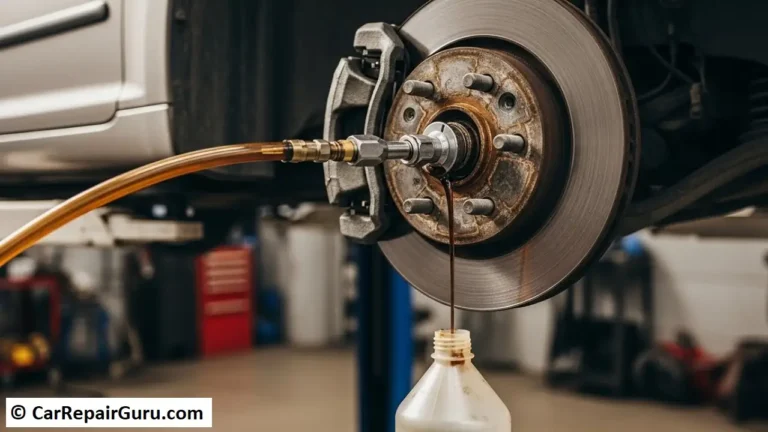
Check the Brake Fluid: Open your hood and locate the brake fluid reservoir (it’s usually a small, translucent plastic container on the driver’s side). There are “MIN” and “MAX” lines on the side. The fluid should be between them. Also, note the color. Fresh fluid is nearly clear with a slight yellow tint. If your brake fluid is dark, murky, or looks like used motor oil, it’s contaminated and needs to be flushed.
Test the Parking Brake (E-Brake): While the car is off, engage the parking brake. It should feel firm and engage within a few clicks (for a handle) or with solid pressure (for a pedal). It shouldn’t feel loose or pull all the way up with no resistance.
Look for Leaks: Glance under the car, especially around the inside of each tire. You’re looking for any dripping fluid that could indicate a leak in a brake line or caliper.
Step 2 – The Low-Speed Pedal Feel Test (5-10 mph)
Now, start the car.
- Slowly drive forward at a walking pace (5-10 mph).
- Gently press the brake pedal. Pay close attention to how it feels under your foot.
- What you’re feeling for: The pedal should feel firm and consistent. It shouldn’t feel like you’re stepping on a soft kitchen sponge—that’s the classic sign of a “spongy brake pedal” and points to air in the system. It also shouldn’t feel excessively hard or require extreme pressure to engage.
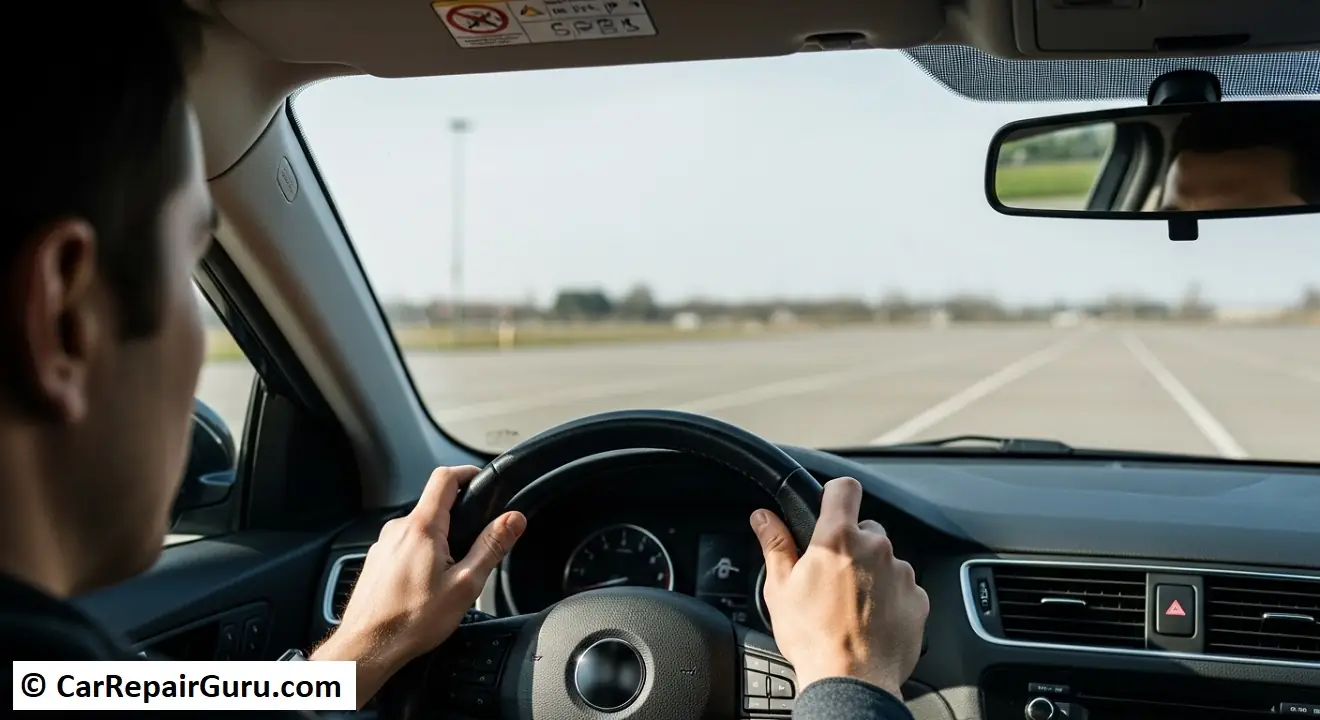
Step 3 – The Moderate-Speed Straight-Line Test (30-40 mph)
This is the most revealing part of the test.
- In your safe, empty area, accelerate smoothly to about 30-40 mph.
- Take your hands lightly off the steering wheel (but keep them hovering just over it for safety).
- Apply the brakes with firm, steady pressure—not a panic stop, but a decisive one.
Pay attention to everything:
-
- Does the car pull to the left or right? If the vehicle veers to one side, it means one brake is working harder than the other. This is a serious issue, often caused by a stuck caliper or a collapsed brake hose.
- Do you feel a vibration? A shuddering or pulsating sensation in the brake pedal or steering wheel is a tell-tale sign of warped brake rotors.
- Does the car stop smoothly? The stop should be controlled and efficient, without any alarming noises or jerky movements.
Repeat this test two or three times to ensure the results are consistent.
Step 4 – The Emergency Brake / Parking Brake Test
Your parking brake is a separate, mechanical system designed to hold your car in place and act as a backup.
- Find a gentle, safe slope in your testing area.
- Bring the car to a stop, shift into neutral, and firmly engage the parking brake.
- Slowly take your foot off the main brake pedal.
What you’re looking for: The car should hold its position securely without rolling. If it rolls, the parking brake needs adjustment or repair.
How to Interpret the Results – A Common Problems Chart
You’ve completed the test, and you’ve noticed a few things. So, what does it all mean? This chart breaks down the most common symptoms, their likely meaning, and the potential culprits. Use this as a guide to have a more informed conversation with your mechanic.
| Symptom You Experience | What It Likely Means | Potential Cause(s) |
|---|---|---|
| Car Pulls to One Side | Uneven braking force | Sticking caliper, collapsed brake hose, bad alignment |
| Spongy or Soft Brake Pedal | Air or moisture in the brake lines | Needs brake fluid flush/bleed, master cylinder leak |
| Squealing or Screeching | Worn brake pads | Worn pad indicators, glazed pads/rotors |
| Grinding Noise | Extreme wear, metal-on-metal contact | Brake pads are completely gone, damaging rotors |
| Vibration/Pulsating Pedal | Warped brake rotors | Overheating from heavy use, uneven wear |
| Brake Light is On | System fault detected | Low fluid, worn pads (on some cars), ABS fault |
Remember, this chart is for informational purposes. A professional diagnosis is always the best course of action.
What Affects Braking Performance? Beyond the Brakes Themselves
Perfect brakes can still deliver poor performance if other systems on your car aren’t up to par. Understanding what affects braking distance gives you a complete picture of your vehicle’s safety.
Tires are Everything: Your tires are the only four points of contact between your car and the road. Worn, underinflated, or low-quality tires drastically increase your brake stopping distance, regardless of how new your brakes are. This is the single biggest factor after the brakes themselves.
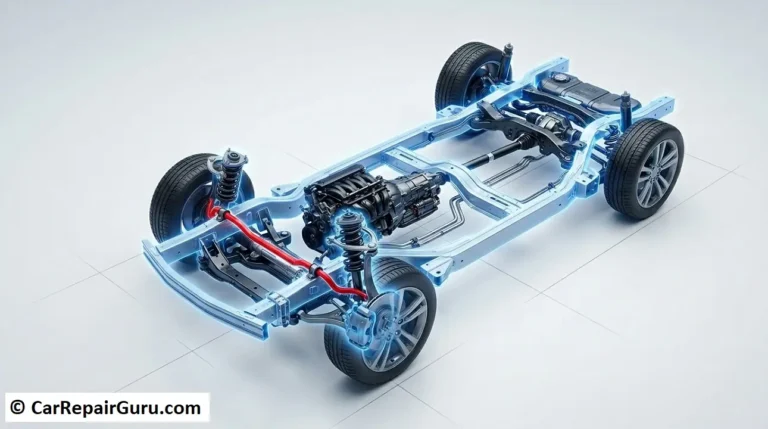
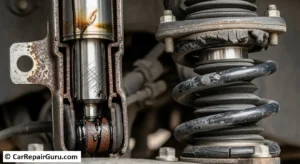
Suspension Health: Worn shock absorbers and struts can cause the car’s front end to “nosedive” excessively during braking. This shifts weight off the rear wheels, reducing their braking effectiveness and potentially increasing stopping distance.
Vehicle Weight: The heavier the car, the more energy the brakes have to dissipate to bring it to a stop. A car loaded with passengers and luggage will take longer to stop than an empty one.
Road Conditions: This is a huge factor. Wet, icy, or gravel-covered roads dramatically reduce tire grip, which can multiply your stopping distance several times over.
Don’t Guess, Test!
Your car’s brakes won’t fail overnight. They give you warnings—a slight pull, a soft pedal, a new noise. Learning to perform a regular braking performance test empowers you to catch these small warnings before they become big problems. It’s a simple, fast, and free procedure that is absolutely critical for your safety and the safety of everyone around you.
Pay attention to the sounds and feelings of your car; it’s communicating with you.
If you experience any of the warning signs during your test, or if you’re ever in doubt about your car’s stopping power, don’t wait. Schedule an appointment with a certified mechanic immediately. Your safety is worth it.
Frequently Asked Questions (FAQ)
What is a good braking distance for a car?
There’s no single magic number, as it depends heavily on speed, tires, and road conditions. However, as a general benchmark, a typical passenger car traveling at 60 mph on a dry road should be able to come to a complete stop in about 120-140 feet. The key takeaway from your test isn’t the exact distance but whether the stop is straight, controlled, and free of unusual noises or vibrations.
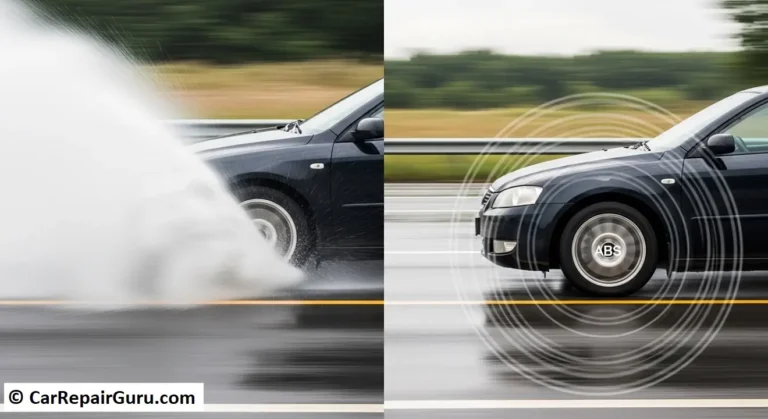
How can I test my ABS brakes?
The best way to test your ABS brakes is to trigger them. In your safe testing area, get up to about 20-25 mph and perform a true panic stop—press the brake pedal hard and fast. You should feel a rapid, buzzing pulsation through the brake pedal and hear a whirring or clicking sound. This is the ABS system working correctly to prevent the wheels from locking up. Don’t be alarmed by the sensation; it means the system is doing its job.
Can I test brake performance myself?
Absolutely. The DIY brake performance test outlined in this article is a safe and effective way for any driver to get a clear sense of their brake system’s health. By following the safety precautions and the step-by-step instructions, you can confidently assess your vehicle’s braking capabilities.
What’s the difference between a DIY and a professional brake test?
A DIY test focuses on the real-world feel and performance of the system—how it sounds, feels, and responds. A professional brake test can go a step further. Mechanics have tools like brake dynamometers that measure the precise braking force at each wheel and G-force meters to calculate stopping efficiency. While our DIY test is perfect for routine checks, a professional diagnosis is essential when you detect a problem.