There’s nothing quite like that sinking feeling. You walk out to your car and there it is—a fresh scratch, a glaring chip, or a scuff mark that wasn’t there before. It’s a blemish on an otherwise perfect finish, and every time you look at it, it’s all you can see. Your first thought is, “I can fix this,” but your second is probably, “How in the world do I match the paint perfectly?”
Getting a flawless car color matching result is more complex than just finding the right shade of “blue” or “red.” Modern automotive finishes are a sophisticated blend of pigments, metallics, and protective layers. But don’t be discouraged. Whether you’re a determined DIYer ready to tackle a small repair or a car owner trying to understand the professional process, this guide has you covered.
We’ll walk you through everything from finding your car’s exact paint code to applying the paint for an invisible repair. Let’s restore that factory finish.
Why is Matching Car Paint So Difficult?
Before you grab a bottle of touch-up paint, it’s helpful to understand why this process isn’t as simple as it seems. If you’ve ever tried and ended up with a patch that’s just a little bit off, you’ve run into one of these common challenges.
- UV Fading and Weathering: The single biggest reason for a mismatch is that your car’s paint isn’t the same color it was when it left the factory. Years of sun exposure, acid rain, road salt, and bird droppings subtly break down the paint’s pigments and clear coat. A brand-new paint formula based on the factory code won’t perfectly match a five-year-old panel that has been baking in the sun.
- Factory Variations: Believe it or not, even two cars of the same color, built in the same year, can have slight variations. The exact mix of paint can differ slightly from one batch to another at the factory. These are called “variants,” and a professional body shop often has to account for them.
- Paint Layers & Finishes: Your car’s color isn’t a single layer. It’s a system: primer for adhesion, a base coat for the actual color, and a clear coat for shine and protection. Metallic and pearlescent finishes add another layer of complexity, as the way the tiny metal or ceramic flakes lay down can change the color’s appearance from different angles.
- Material Differences: Paint can look slightly different depending on the surface it’s on. The same color formula applied to a flexible plastic bumper might appear a shade different than when it’s applied to a rigid steel fender due to differences in static charge and surface texture.
Understanding these factors is the key to appreciating why the first step—finding your exact paint code—is so non-negotiable.
The First & Most Crucial Step – Finding Your Car’s Paint Code
Forget trying to eyeball the color or matching it to a swatch at the auto parts store. The only way to get the right starting formula is to find the manufacturer’s official paint code. This code is the specific recipe for your car’s color. Here are the three best methods for your car paint code lookup.
Method 1 – The Compliance/Service Plate (The Easiest Way)
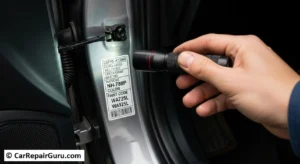
This is the most reliable method. Almost every vehicle has a sticker or small metal plate that contains vital information, including the paint code. You just need to know where to look.
- Common Locations: The most common spot is inside the driver-side door jamb. Open the door and check the frame. If it’s not there, check the passenger-side jamb, under the hood near the firewall, in the glove box, or in the trunk near the spare tire well.
- What to Look For: The label and format vary by manufacturer. For example:
- Toyota/Lexus: Often labeled “C/TR” (Color/Trim). The paint code is the first set of characters (e.g., “202” for Black Onyx).
- Ford: Usually found under “EXT PNT” or “PAINT.”
- Honda/Acura: The code might be on its own line (e.g., “NH-731P” for Crystal Black Pearl).
- BMW/GM: Often listed by its name and code (e.g., “WA8555” for Onyx Black on a GM vehicle).
Method 2 – Using Your VIN (Vehicle Identification Number)
If you absolutely cannot find the plate, your VIN number paint code is your next best bet. The VIN itself doesn’t contain the paint code, but it’s the key to unlocking that information.
- How it Works: Call the parts department of a local dealership for your car’s brand. Give them your VIN, and they can look up the original factory paint code in their system in seconds.
- Online Decoders: Some online services also allow you to find your paint code using your VIN, though calling the dealership is often the most direct and accurate route.
Method 3 – Online Paint Code Databases
Several reputable automotive paint suppliers have online databases. You can typically enter your car’s make, model, and year, and it will show you the possible colors for that vehicle. This method is best used as a last resort or to double-check the code you found, as there might be multiple shades of “blue” offered in a single year.
The DIY Approach – How to Match Car Paint at Home
With your paint code in hand, you’re ready to tackle that repair. A successful car scratch repair color match is 90% preparation and 10% application. Rushing the process is the surest way to get a subpar result.
Essential Tools and Materials for Color Matching
Gather everything you need before you start. Having it all on hand makes the process much smoother.
Custom-Mixed Paint: This is crucial. Don’t grab an off-the-shelf color. Order your paint from a reputable supplier using the paint code you found. You can get it in a touch-up pen (for tiny chips), a small bottle with a brush, or an aerosol spray can for larger scuffs.
Automotive Primer: Essential for ensuring the paint adheres properly and for covering bare metal or plastic.
Clear Coat: This restores the gloss and protects the new base coat from the elements.
Wax and Grease Remover: Regular soap won’t cut it. You need a solvent that removes all traces of wax, silicone, and oils.
Fine-Grit Sandpaper: A range from 400-grit (for initial smoothing) to 2000-grit (for final finishing) is ideal.
Masking Tape and Paper: To protect the surrounding area from overspray.
Tack Cloth and Microfiber Towels: For removing dust and residue.
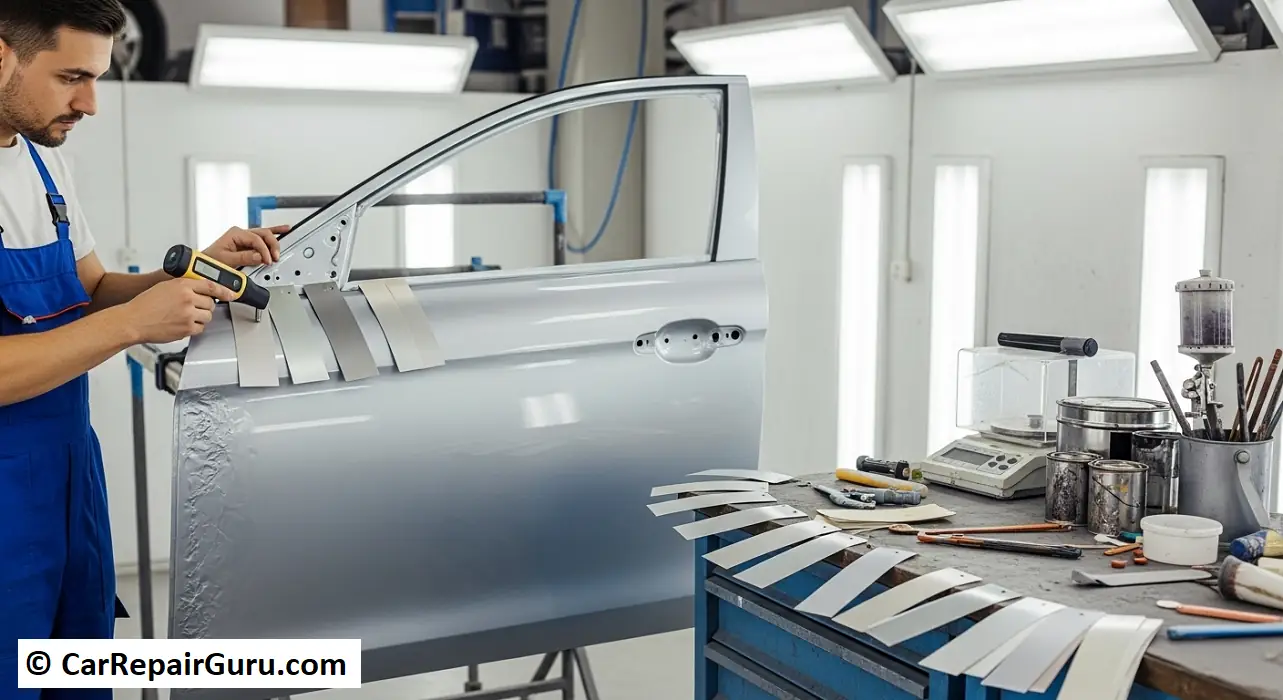
Pro Tip: Spray-Out Test Card: This is a simple piece of cardstock (often sold by paint suppliers) that you use to test your color before it touches your car. It’s the single best way to prevent a surprise mismatch.
Step-by-Step Guide to a Perfect DIY Match
1. Preparation is Key
Clean the damaged area and a few inches around it thoroughly with soap and water, then follow up with the wax and grease remover. Any contaminants will ruin the paint job.
2. Sanding and Feathering
If you have a deep scratch or a chip with raised edges, you need to smooth it out. Use a fine-grit sandpaper (around 400-600) to gently sand the area. The goal is to “feather” the edges of the damage so there’s a smooth, gradual transition from the damaged spot to the original paint.
3. Mask the Area
Use masking tape and paper to create a boundary around your repair area. This protects the rest of your car from overspray.
4. Apply Primer
If you’ve exposed bare metal or plastic, apply a few light coats of primer. Don’t lay it on thick. Allow it to dry completely according to the manufacturer’s instructions.
5. Test Your Color (The Most Important Step!)
Shake your aerosol can or paint bottle thoroughly. Spray two or three coats onto your test card. Let it dry completely. Now, hold the card right next to the repair area on your car in direct sunlight. Does it match? Due to fading, it might be a tiny bit off, but it should be very close. This is your moment of truth.
6. Apply the Base Coat (Color)
Holding the aerosol can about 8-10 inches away, apply several very light coats of your base color. A series of thin coats is always better than one thick, drippy one. Allow 10-15 minutes of drying time between coats.
7. Blend the Edges
For the final color coat, use paint blending techniques by extending your spray just slightly past the primed area and into the masked-off original paint. This helps create a less noticeable transition line.
8. Apply the Clear Coat
After the base coat is fully dry (check the product’s instructions), it’s time for the clear coat. This is what provides the shine and protection. Apply 2-3 even coats, extending slightly beyond the color coat area to seal it in.
9. Finishing (The Pro Touch)
After the clear coat has cured for at least 24-48 hours, you can take it a step further. Use a very fine-grit wet sandpaper (2000-grit) to lightly sand the area to remove any texture (“orange peel”). Then, use a polishing compound and a microfiber towel to bring out a brilliant, factory-like shine.
When to Call a Professional Body Shop
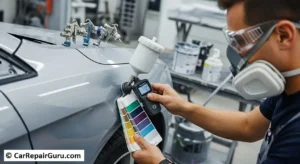
The DIY approach is perfect for small chips and minor scratches. But sometimes, a job is best left to the experts. Consider calling a professional for automotive paint matching if:
- The Damage is Large: If the repair area is larger than your hand, it becomes very difficult to blend with an aerosol can.
- Your Color is Complex: Tri-coat paints (like a deep candy apple red), pearls, and matte finishes require specialized equipment and techniques to match correctly.
- You Lack the Time, Space, or Tools: A good repair takes patience and a clean, dry, well-ventilated space. If you don’t have that, a professional is a better bet.
- Your Car’s Value is High: For a classic, luxury, or exotic car, a perfect, warrantied repair from a body shop is essential to protect its value.
How Professionals Achieve a Flawless Match
Professionals have tools and techniques that go beyond what’s available to a DIYer.
- Using a Spectrophotometer: This is the game-changer. A spectrophotometer car paint tool is a handheld digital camera that “reads” your car’s color directly from the panel. It analyzes the exact shade, including the effects of fading, and generates a precise formula. The technician can then mix that exact formula on-site.
- Expert Blending Techniques: A professional doesn’t just paint the repaired spot. They blend the new paint across the entire panel and sometimes even slightly onto adjacent panels (like the door or fender). This tricks the eye into seeing a completely uniform color with no discernible repair lines.
Achieving a Flawless Finish
A scratch or chip doesn’t have to be a permanent scar on your vehicle. With the right information and a bit of patience, you can achieve a fantastic result. Remember the keys to success: always start by finding your exact paint code, be meticulous in your preparation, and always use a test card before applying paint to your car.
For the dedicated DIYer, tackling a small repair can be an incredibly rewarding project. But it’s also important to know your limits. For larger or more complex jobs, the skill and technology of a professional body shop are well worth the investment.
If your repair seems too big to handle, don’t risk a bad match. Contact a trusted local body shop today for a free, no-obligation estimate and restore your car’s beauty with confidence!
Frequently Asked Questions for Car Color Matching
Can I get car paint matched from a photo?
Absolutely not. Photos are incredibly unreliable for precise color matching. The color you see is affected by lighting, the camera’s sensor, and your screen’s calibration. The only reliable method is to use your car’s specific paint code.
How much does professional car paint matching cost?
The cost varies widely. A small scuff repair on a bumper corner might cost $200-$400. A full panel repaint (like a door or fender) could range from $500 to $1,500+, depending on the paint complexity, labor involved, and local rates.
Will a color-matched repair be noticeable?
If done correctly—using the exact paint code, proper preparation, and good blending techniques—a repair should be virtually invisible in all lighting conditions. This is the goal of both a skilled DIYer and any reputable body shop.
Does AutoZone or O’Reilly match car paint?
Big-box auto parts stores can look up your paint code and sell you pre-mixed touch-up paints and aerosol cans from brands like Dupli-Color. For true custom car paint matching, you’ll want to visit a dedicated automotive paint supply store. They can use your code to mix a batch of paint that is often a more precise match for your specific vehicle.
