Marco Riley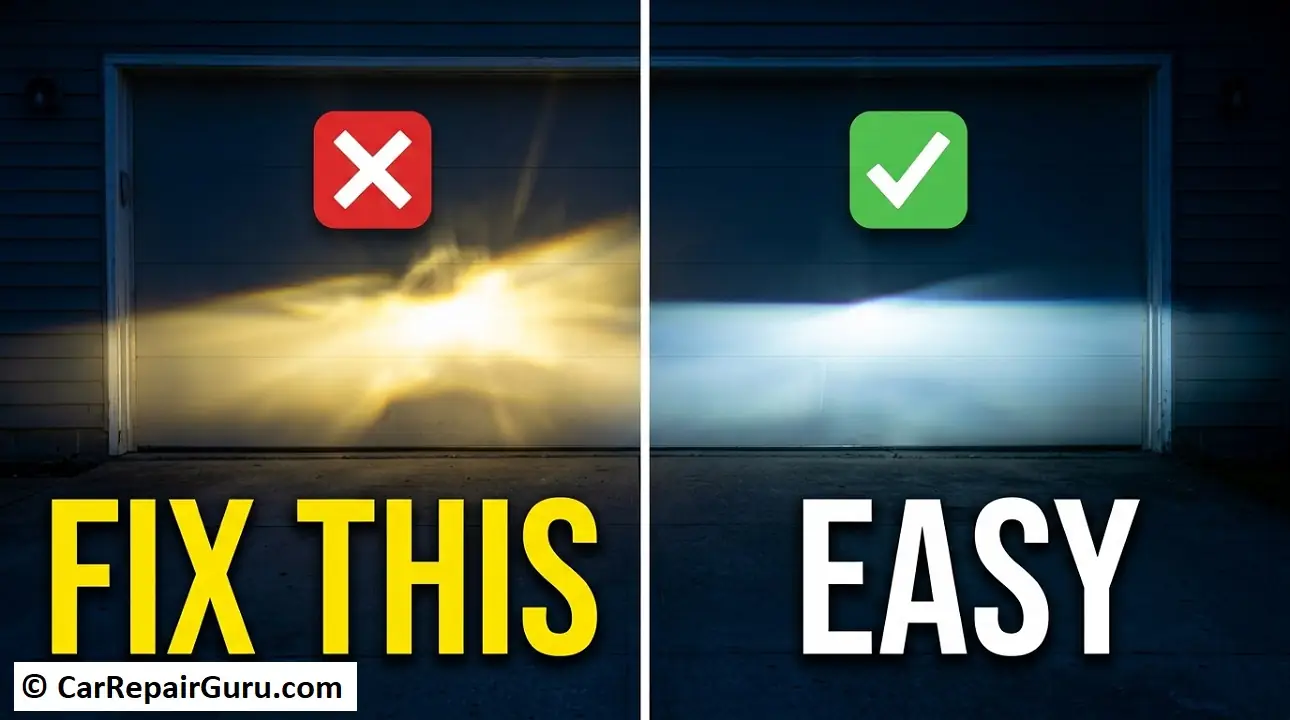
Have you ever been driving at night and felt like your low beams were pointing directly at the pavement just a few feet in front of your bumper? Or worse, have you noticed oncoming drivers constantly flashing their brights at you, even though your high beams are off?
If so, you aren’t just dealing with a nuisance; you’re dealing with a safety hazard.
Proper headlight alignment is crucial for seeing road obstacles, reading signs, and keeping other drivers safe. Yet, it is one of the most overlooked aspects of vehicle maintenance. The good news? You don’t need to pay a mechanic $50 or more to fix it. With a screwdriver, some tape, and a flat wall, you can master how to adjust car headlights right in your own driveway.
In this guide, we’ll walk you through the process step-by-step, ensuring your vehicle is safe, road-legal, and ready for the darkest roads.
- Why Do Headlights Go Out of Alignment?
- The Pre-Adjustment Checklist – Don’t Skip This!
- 1. Level the Playing Field
- 2. Simulate Normal Driving Conditions
- 3. Clean the Lenses
- Tools You Will Need
- Cloudy Lenses? Restore Before You Adjust
- How to Adjust Car Headlights – Step-by-Step
- Step 1 – Create Your “Zero” Point
- Step 2 – Mark the Centerlines
- Step 3 – The 25-Foot Reverse
- Step 4 – Locate the Headlight Adjustment Screws
- Step 5 – Adjusting the Vertical Aim (Up/Down)
- Step 6 – Adjusting the Horizontal Aim (Left/Right)
- Don’t Forget the Fog Lights – How to Aim Them
- Special Considerations – LEDs and Separate High Beams
- Dealing with “Cut-off Lines”
- Separate High Beams
- Adaptive Headlights
- Troubleshooting Common Issues
- DIY vs. Professional Alignment – Is It Worth the Cost?
- Final Thoughts – Safety First
- Frequently Asked Questions (FAQ)
- How far back should I park to adjust headlights?
- Which way do I turn the screw to raise the beam?
- Do I need to adjust high beams separately?
- Why is one of my headlights dimmer than the other?
- Can I adjust headlights without a wall?
Why Do Headlights Go Out of Alignment?
You might be wondering, “I haven’t crashed my car, so why are my lights aiming at the treetops?”
Cars are subject to constant vibration. Over time, the adjusting screws that hold your headlight housing in place can loosen. Here are the most common reasons you might need to perform a DIY headlight adjustment:
- Bulb Replacement: If you recently changed your halogen or LED bulbs, the new bulb might not sit in the socket exactly the same way the old one did.
- Suspension Settling: As springs and shocks wear out (which is a great time to perform a routine suspension inspection), your car’s ride height changes, which alters the angle of your lights.
- Weight Distribution: If you frequently carry heavy loads in the trunk, the back of the car sags, pointing your headlights upward.
- Minor Bumps: Even a gentle tap on the bumper in a parking lot can jar the headlight assembly out of position.
The Pre-Adjustment Checklist – Don’t Skip This!
Before you start twisting screws, you need to prepare the vehicle. If the car isn’t sitting right, your aiming car headlights efforts will be inaccurate.
1. Level the Playing Field
Park your car on completely level ground. A sloped driveway will throw off your measurements. You also need a vertical wall or garage door to project the light onto.
2. Simulate Normal Driving Conditions
Car manufacturers design headlights to be aligned when the car is carrying a standard load. To get a perfect aim:
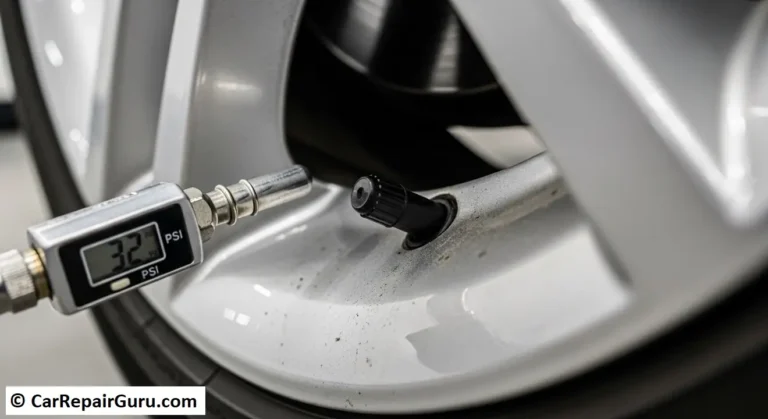
- Check Tire Pressure: Always check your car tire pressure first to ensure all four tires are perfectly inflated to the manufacturer’s recommended PSI.
- Fuel Up: Aim to have at least a half-tank of gas. Fuel is heavy and affects the vehicle’s stance.
- Simulate Passenger Weight: If you usually drive alone, the car is fine as is. If you usually have passengers or heavy gear, put roughly that amount of weight in the driver’s seat (or have a friend sit in the car) while you measure.
3. Clean the Lenses
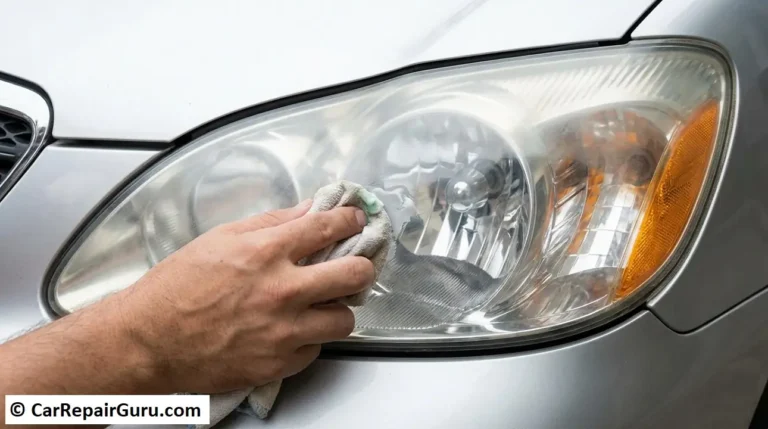
If your headlights are foggy or caked in mud, the beam will be scattered, making it impossible to find the center point. Give them a quick wipe down.
Tools You Will Need
- Masking Tape or Painter’s Tape: To mark the wall (dark tape works best on white garage doors).
- Tape Measure: You need one that can extend at least 25 feet.
- Phillips Screwdriver: Or the specific tool required for your make/model (sometimes a Torx bit or hex key).
- A Jacket or Towel: To cover one headlight while you adjust the other.
- Flashlight: To locate the adjustment screws under the hood.
Cloudy Lenses? Restore Before You Adjust
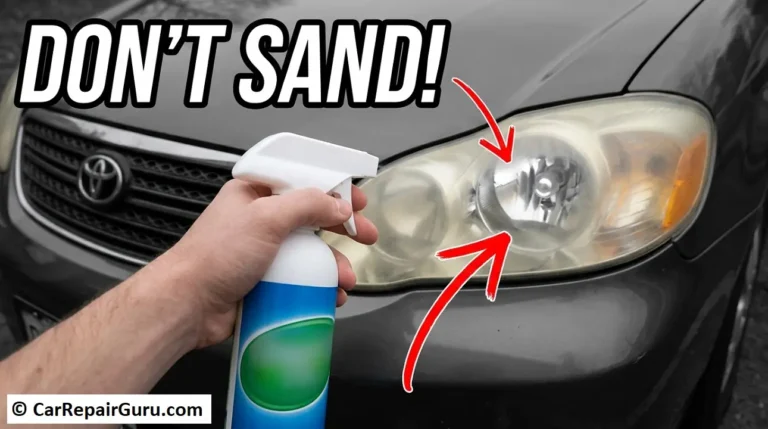
Before you even break out the tape measure, take a close look at your headlight lenses. Are they crystal clear, or do they look yellow, hazy, or oxidized?
Trying to perform a headlight alignment on a cloudy lens is like trying to focus a camera through a dirty window. The oxidation on the plastic causes the light beam to scatter (refract) in random directions rather than projecting a focused beam. This makes it impossible to find the true center of the light on the wall.
If your lights are foggy, you need to address that first:
- DIY Restoration: For mild haze, learning how to clean foggy headlights using a standard restoration kit (available at any auto parts store) or even non-gel toothpaste and a buffer can polish the plastic clear again.
- Professional Cleaning: If they are severely yellowed, many detail shops offer restoration services.
- Replacement: If the housing is cracked or allowing moisture inside (condensation), no amount of adjusting will fix the visibility issues. You will likely need to replace the entire assembly.
How to Adjust Car Headlights – Step-by-Step
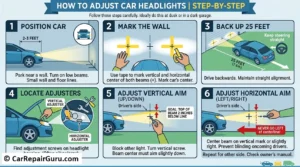
Follow these steps carefully to fix headlights pointing too low or too high. Ideally, do this at dusk or in a dark garage so the beams are clearly visible.
Step 1 – Create Your “Zero” Point
Pull your car up to the wall or garage door. Get as close as possible without touching the bumper (about 2 to 3 feet away). Turn on your low beams.
Step 2 – Mark the Centerlines
You need to map out exactly where the center of the light beam hits the wall.
- Vertical Center: Use a piece of tape to mark the horizontal center of the intense light beam for both the driver and passenger side.
- Horizontal Center: Place a vertical strip of tape through the center of each beam.
- Vehicle Center: Locate the exact center of your car (usually the brand emblem on the grill) and place a mark on the wall corresponding to that.
You should now have two “crosshairs” (+) on the wall representing your headlights, and one center mark between them.
Step 3 – The 25-Foot Reverse
Keep the steering wheel perfectly straight and back the car up exactly 25 feet. This is the industry-standard distance for most manufacturers (though you should check your owner’s manual to be sure; some Toyota or Chrysler models may specify different distances).
- Note: As you back up, the light beams on the wall will move. If your alignment is off, they might drift wildly to the left or right.
Step 4 – Locate the Headlight Adjustment Screws
Pop the hood and look at the back or top of the headlight housing. You are looking for two specific adjusters:
- Vertical Adjuster: Usually a screw or bolt on the top or bottom of the housing.
- Horizontal Adjuster: Usually located on the side of the housing.
Pro-Tip: These screws are often silver or gray and may be recessed. In some modern cars, there may be a bubble level built into the housing to help you, but the wall method is generally more accurate for the actual beam projection.
Step 5 – Adjusting the Vertical Aim (Up/Down)
This is the most critical step for safety.
- Block the passenger headlight with your towel so you are only seeing the driver’s side beam.
- Turn the vertical adjustment screw.
- The Goal: The top of the most intense part of the beam (the “cut-off line”) should hit the wall roughly 2 inches below the horizontal tape mark you made in Step 2.
Why lower? Because at a distance, you want the light to slope slightly downward toward the road, not straight into the eyes of oncoming traffic.
Step 6 – Adjusting the Horizontal Aim (Left/Right)
Now, switch to the horizontal screw.
- The Goal: The most intense part of the beam should be centered on the vertical tape mark, or slightly to the right of it.
- Crucial Safety Rule: The driver’s side beam should never cross the centerline of the car to the left. If it does, you will blind oncoming drivers. It is safer to have the lights aiming slightly right (towards the shoulder of the road/ditch) than to the left.
Repeat the process for the passenger side light.
Don’t Forget the Fog Lights – How to Aim Them
While you have the tape on the wall and the tools out, you should check your fog lights, too. Many drivers mistakenly believe fog lights should aim at the same height as low beams, but they are designed to cut under fog, rain, and snow.
If fog lights are aimed too high, they will reflect off the moisture in the air and blind you with “glare back.”
The Fog Light Adjustment Rule: The process is nearly identical to your low beams, with one major difference in measurement:
- Park 25 feet away from the wall (just like before).
- Measure the distance from the ground to the center of the fog light lens on your bumper.
- Mark that height on the wall with tape.
- The Drop: Adjust the fog lights so the top of the beam cut-off is 4 inches below the tape mark (as opposed to the 2 inches for headlights).
This steeper angle ensures the light hits the road immediately in front of the car, illuminating lane markings without causing glare.
Special Considerations – LEDs and Separate High Beams
Dealing with “Cut-off Lines”
If you have modern LED or HID headlights, you will notice a very sharp line where the light stops and darkness begins. This is called the “cut-off.” When aligning these, measure from the “step” in the light pattern (where the light kicks up slightly to the right). The lower, flat part of the beam should be the 2-inch drop reference.
Separate High Beams
Most modern cars have a single bulb or assembly that handles both high and low beams. If you align the low beams, the high beams automatically fall into place. However, if your vehicle has a completely separate lens for high beams, you may need to adjust them separately using the same method, though high beams are generally aimed squarely at the center mark (no drop).
Adaptive Headlights
Does your car have headlights that swivel when you turn the steering wheel? These are called adaptive headlights. Proceed with caution. While some have manual overrides, forcing the adjustment screw can damage the delicate motors inside. If you have adaptive lights, it is often best to consult a professional or a dealership.
Troubleshooting Common Issues
“I turn the screw, but the light doesn’t move.”
If the screw is spinning freely with no resistance, the internal gearing may be stripped, or the adjuster has disconnected from the housing. In this case, you may need to replace the entire headlight assembly.
“I can’t find the adjustment screws.”
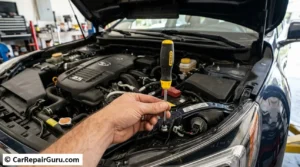
On some vehicles, the screws are hidden behind plastic trim covers under the hood. You may need to remove a cosmetic shield to access them. Consult your owner’s manual or a forum specific to your car model for the headlight adjustment screw location.
“One light is much dimmer than the other.”
Alignment won’t fix brightness. If one light is dim, check your ground wire connection—a frequent culprit in common car electrical problems—or replace the bulb. Bulbs dim over time, so it’s always best to replace them in pairs.
DIY vs. Professional Alignment – Is It Worth the Cost?
If you are uncomfortable working with tools or can’t find a level surface to perform the test (a common problem for those living in hilly areas or cities), you might wonder: How much does a headlight adjustment cost?
- The DIY Route:
- Cost: $0 (assuming you own a screwdriver and tape).
- Time: 30–60 minutes.
- Pros: Free, rewarding, and you learn about your car.
- Cons: Requires a dark, flat space and some patience.
- The Professional Route:
- Cost: Most general repair shops charge between $30 and $50, or a half-hour of labor. Some shops may check it for free during a standard oil change or state inspection.
- Pros: Precision equipment (optical aiming machines) ensures 100% accuracy without needing a wall or dark room.
- Cons: You have to schedule an appointment and pay for labor.
When to see a pro: If you have adaptive headlights (lights that turn with the steering wheel) or auto-leveling xenon/HID systems, manual adjustment can sometimes trigger dashboard error codes. In these cases, a mechanic with a scan tool is the safer bet to avoid damaging expensive sensors.
Final Thoughts – Safety First
Learning how to adjust car headlights is a satisfying DIY project that yields instant results. The next time you’re out driving at night, you’ll notice the difference immediately—road signs will be clearer, potholes will be visible sooner, and you won’t be getting flashed by angry drivers.
If you’ve tried adjusting them and still can’t see well, consider upgrading your bulbs to high-performance halogens or LEDs for better clarity. Take an hour this evening to align your lights; it’s one of the simplest ways to ensure you and your family get home safely.
Frequently Asked Questions (FAQ)
How far back should I park to adjust headlights?
For most vehicles, you should park exactly 25 feet away from the wall on completely level ground. This standard distance ensures the beam angle drops correctly to illuminate the road without blinding oncoming traffic.
Which way do I turn the screw to raise the beam?
There is no universal standard, though turning the screw clockwise often raises the light on many models. You must watch the beam projected on the wall while turning the screw to confirm which direction it is moving.
Do I need to adjust high beams separately?
In most modern cars, the high and low beams share a single housing assembly and move together. Aligning your low beams using the wall method will automatically set your high beams to the correct position.
Why is one of my headlights dimmer than the other?
Headlight alignment does not affect the brightness of the beam. If one light is significantly dimmer, it usually indicates an old bulb nearing burnout, a loose wiring connection, or a foggy lens that needs restoration.
Can I adjust headlights without a wall?
Not accurately. You need a flat, vertical surface to project the beam onto so you can measure the “drop” and center point. Guessing without a reference point often results in lights that are dangerous to other drivers.
About the Author